Before You Start
Tools & Materials
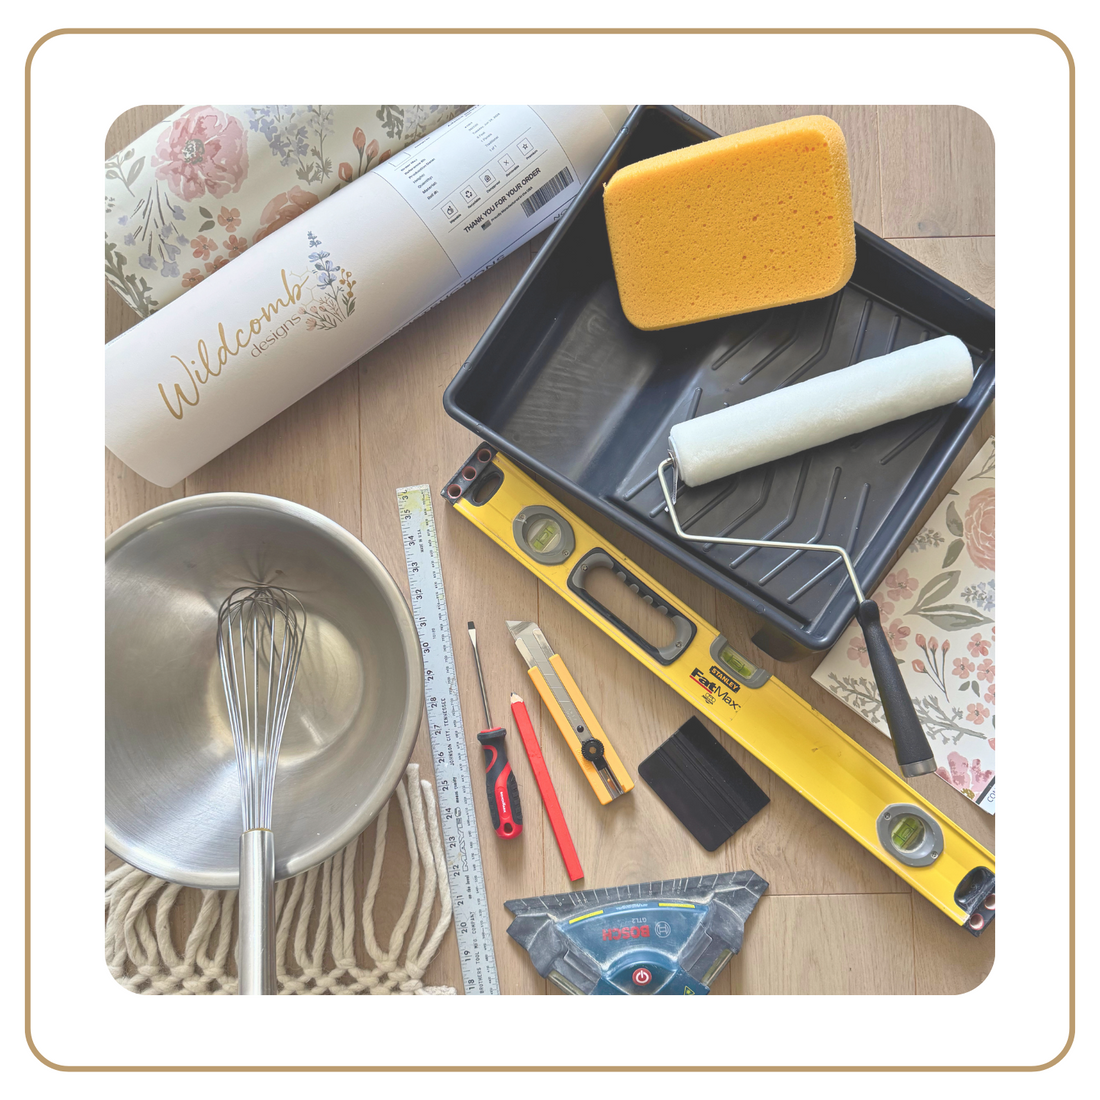
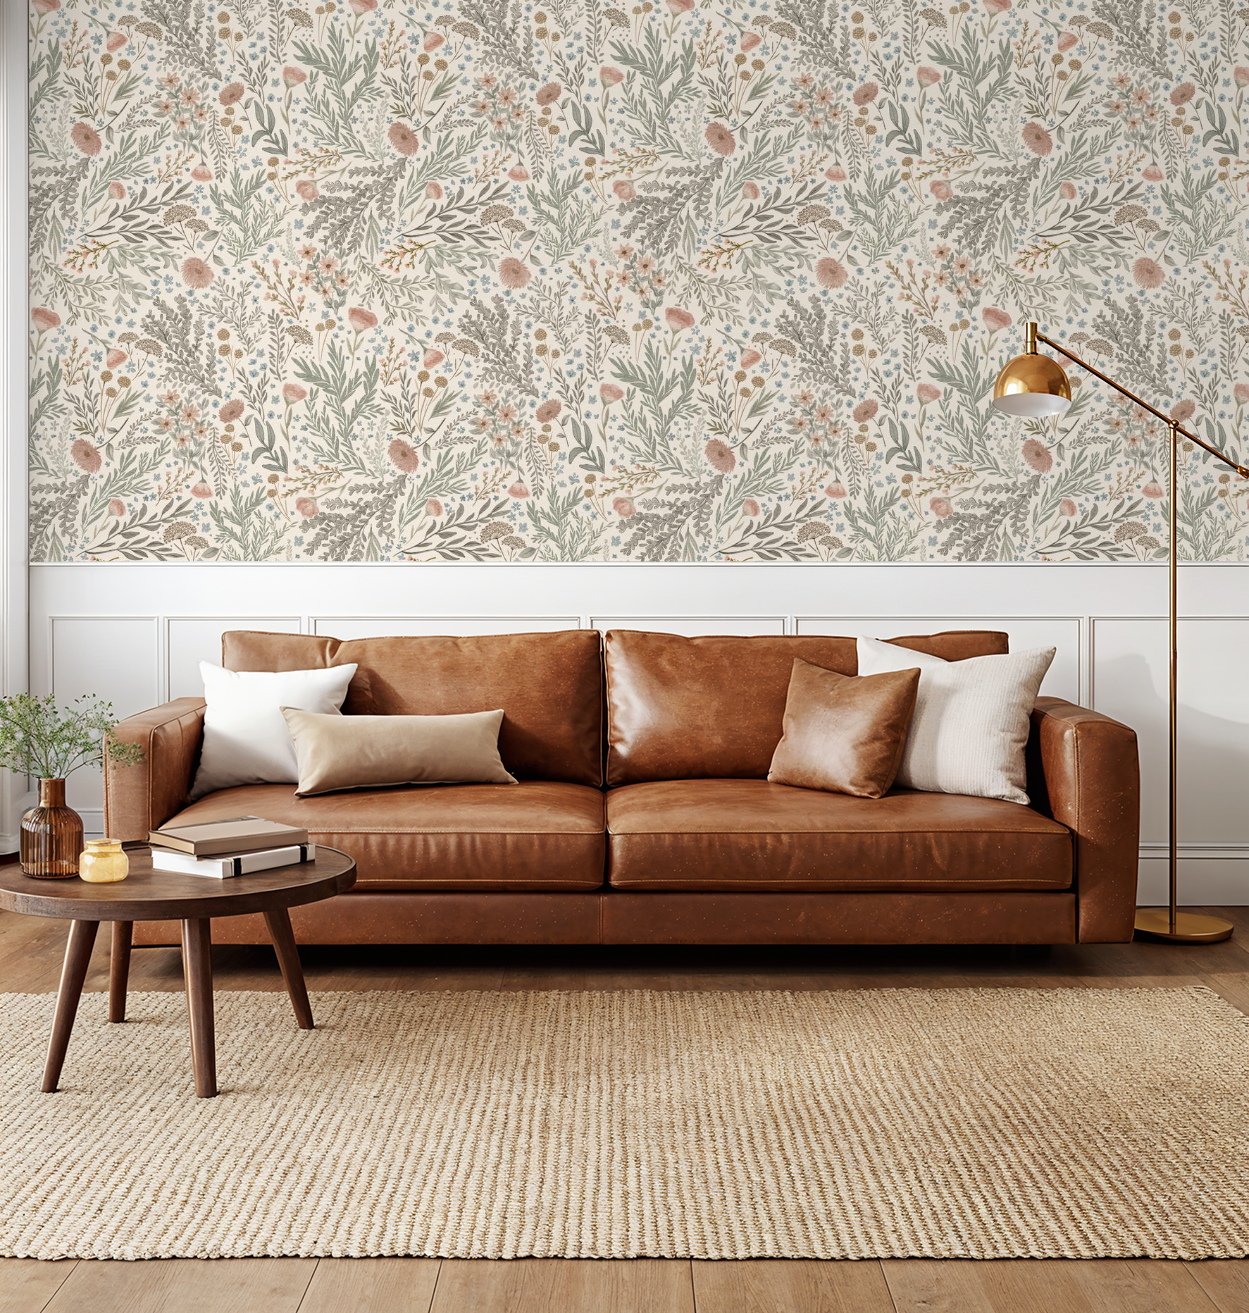
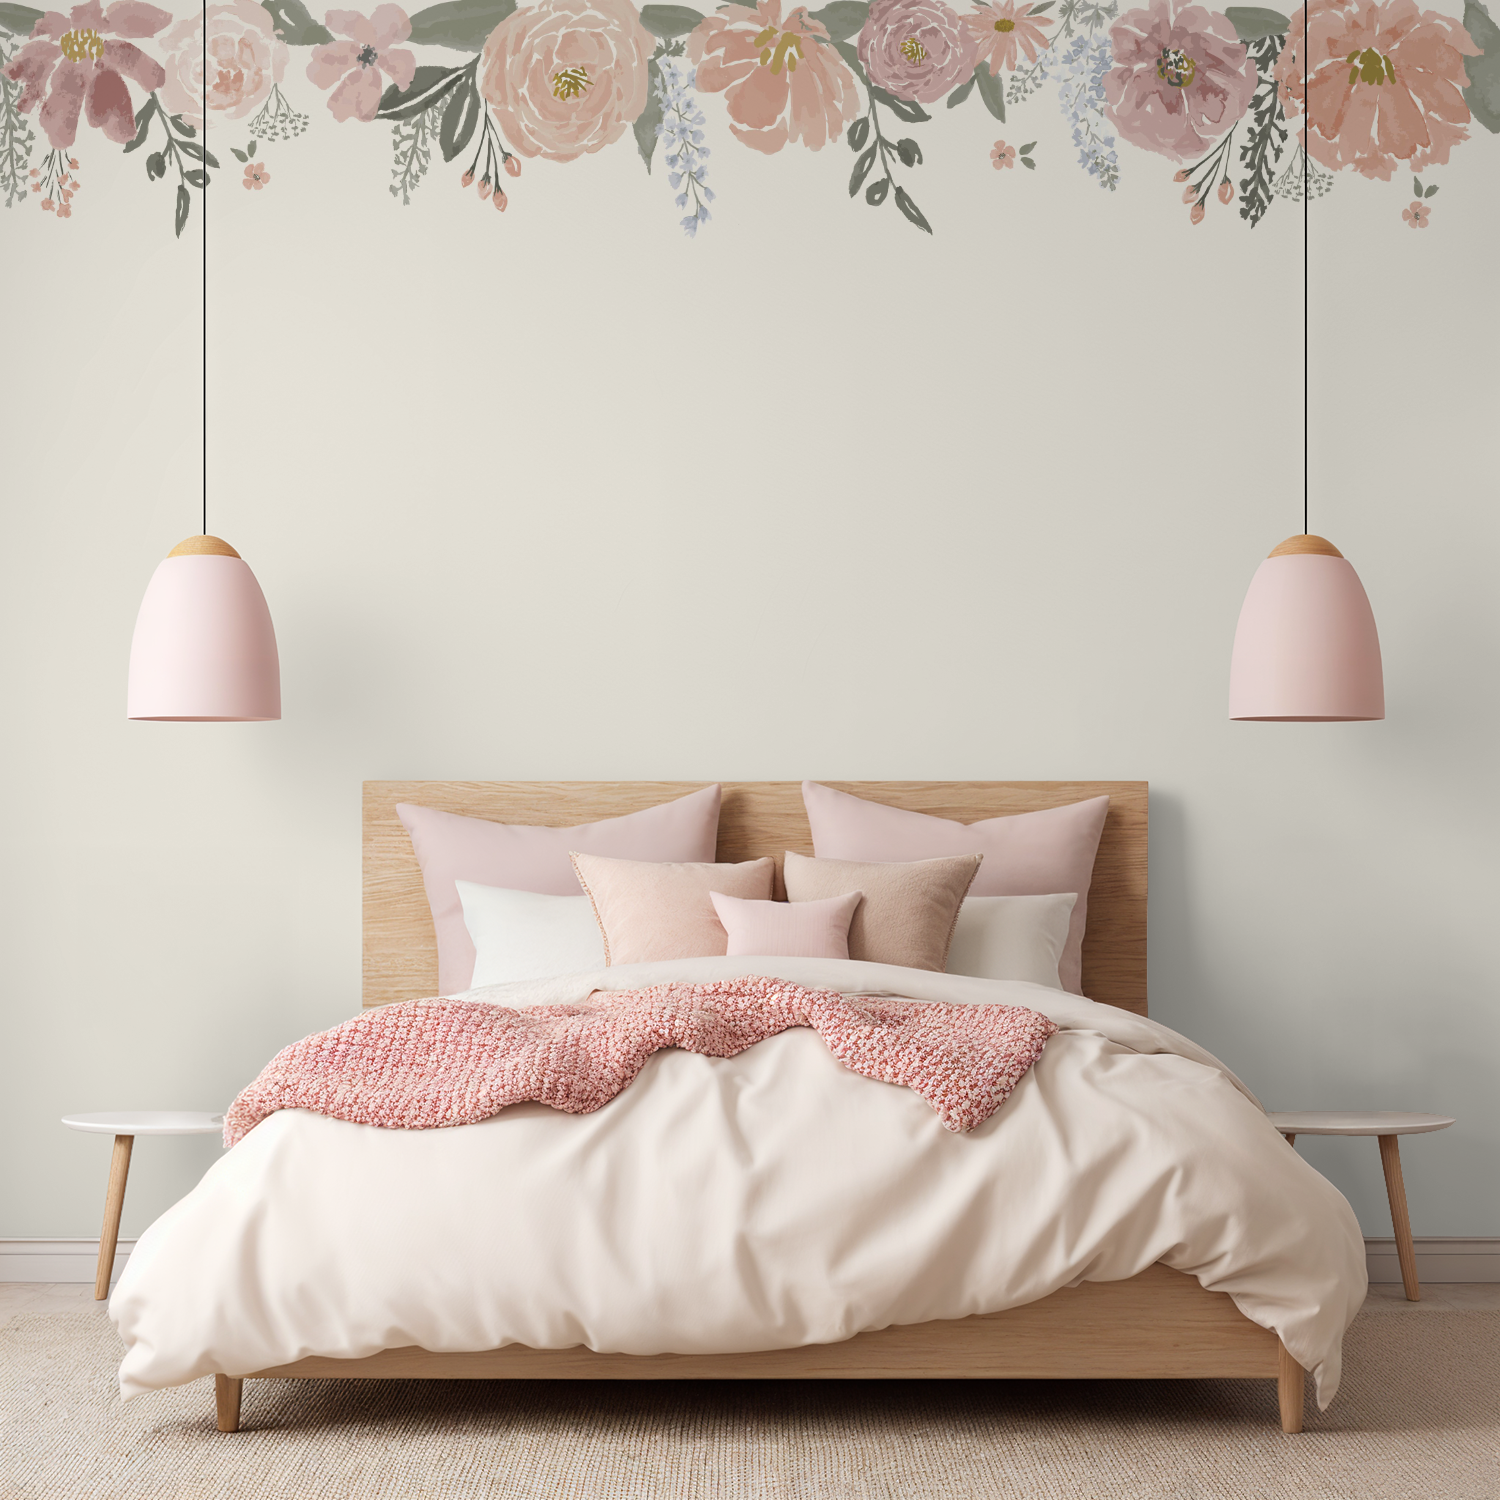
Luxe Traditional
- Squeegee/Smoother tool (included)
- Paste (For a smooth and professional install we recommend Roman 880 strippable paste. It is available at most big box stores, hardware stores and Amazon.)
- Mixing bowl
- Roller and tray or brush
- Utility Knife (sharp fresh blade)
- Scissors (optional for separating the panels, you can use the Utility Knife too)
- Screw Driver (for removing light switch plates)
- Level or laser level
- Ruler/straight edge
- Step Ladder
- Clean sponge or cloth for cleaning up any excess paste
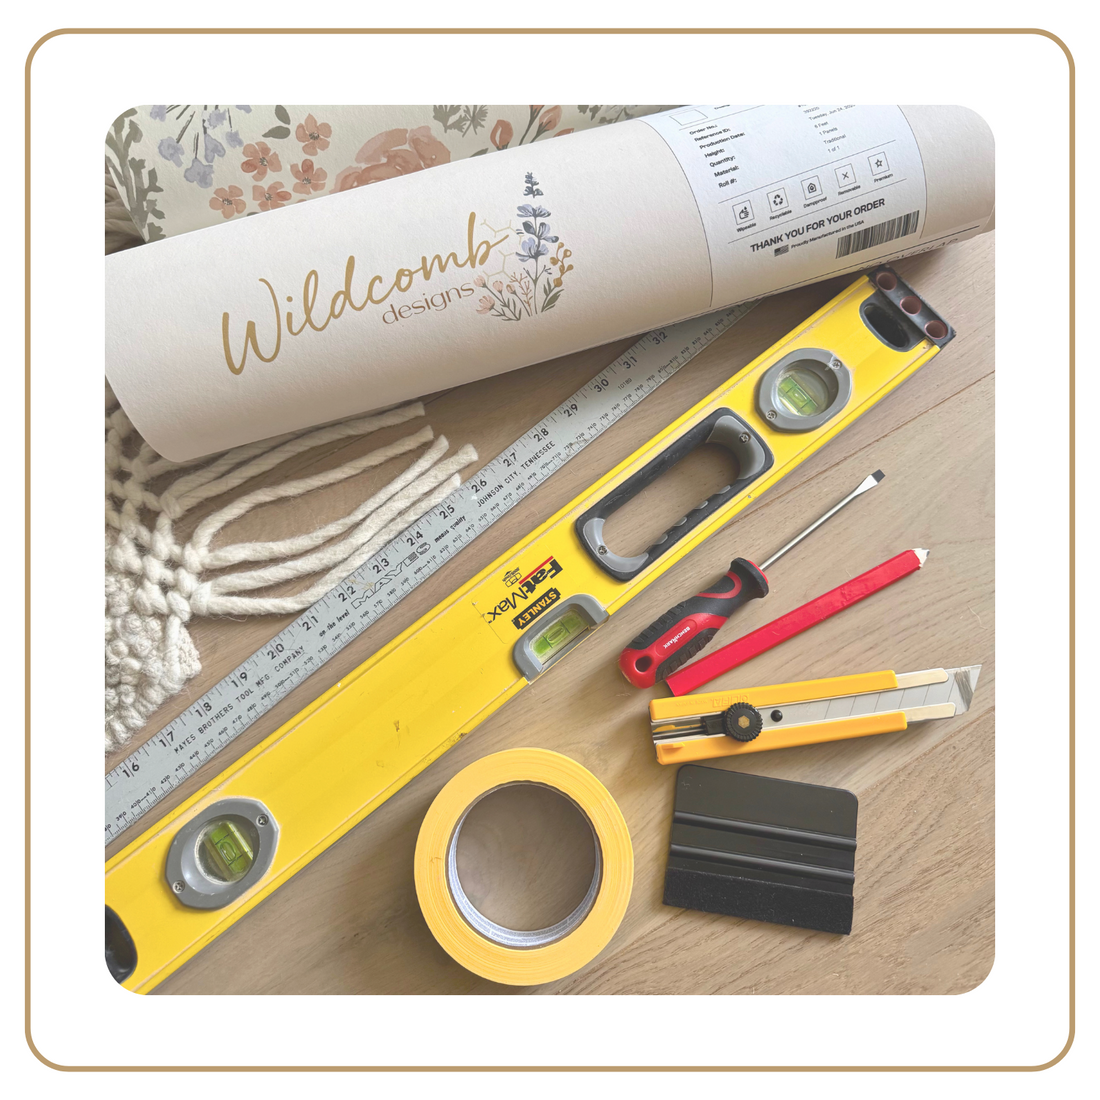
Peel & Stick
- Squeegie/Smoother tool (included)
- Utility Knife (sharp fresh blade)
- Scissors (optional for separating the panels, you can use the Utility Knife too)
- Screw Driver (for removing light switch plates)
- Level or laser level
- Ruler/straight edge
- Step Ladder
- Low tack Painters Tape (to guide it in place)
10 Tips for a Beautiful Install
From Wildcomb Designs
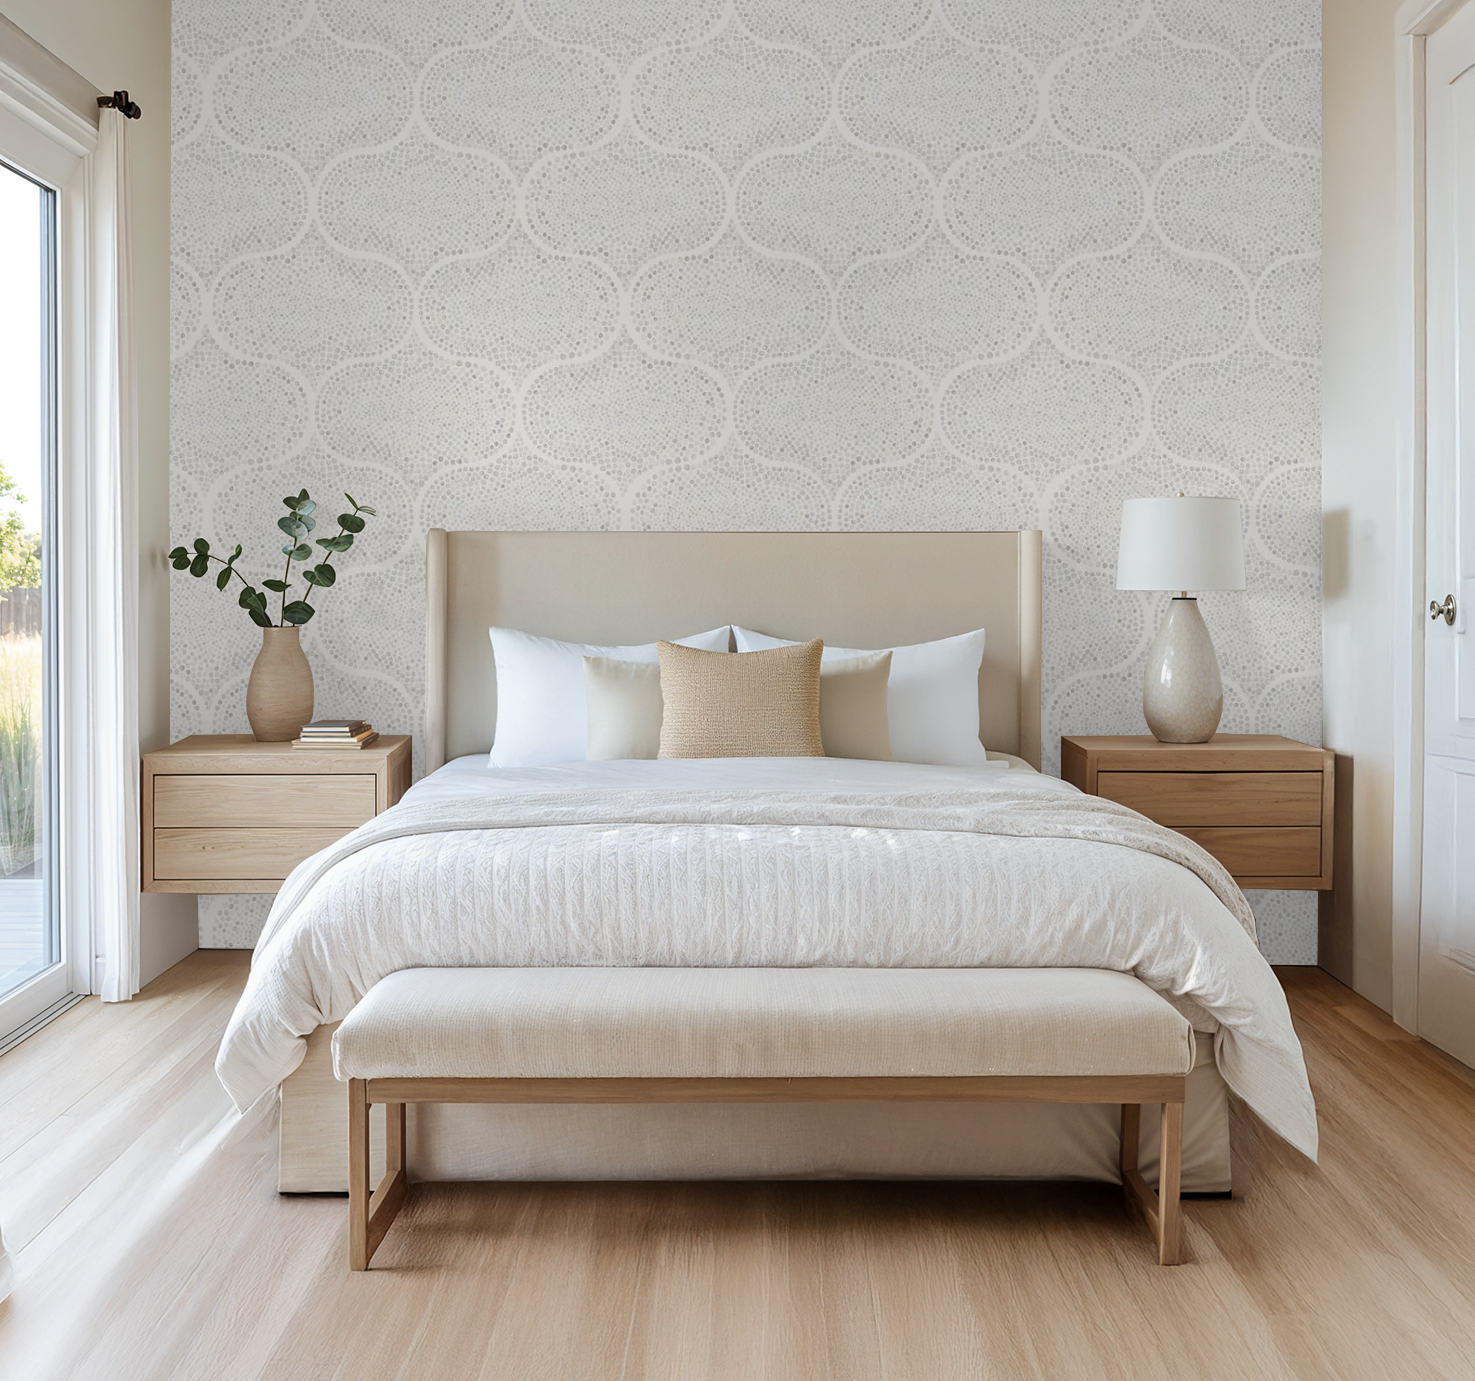
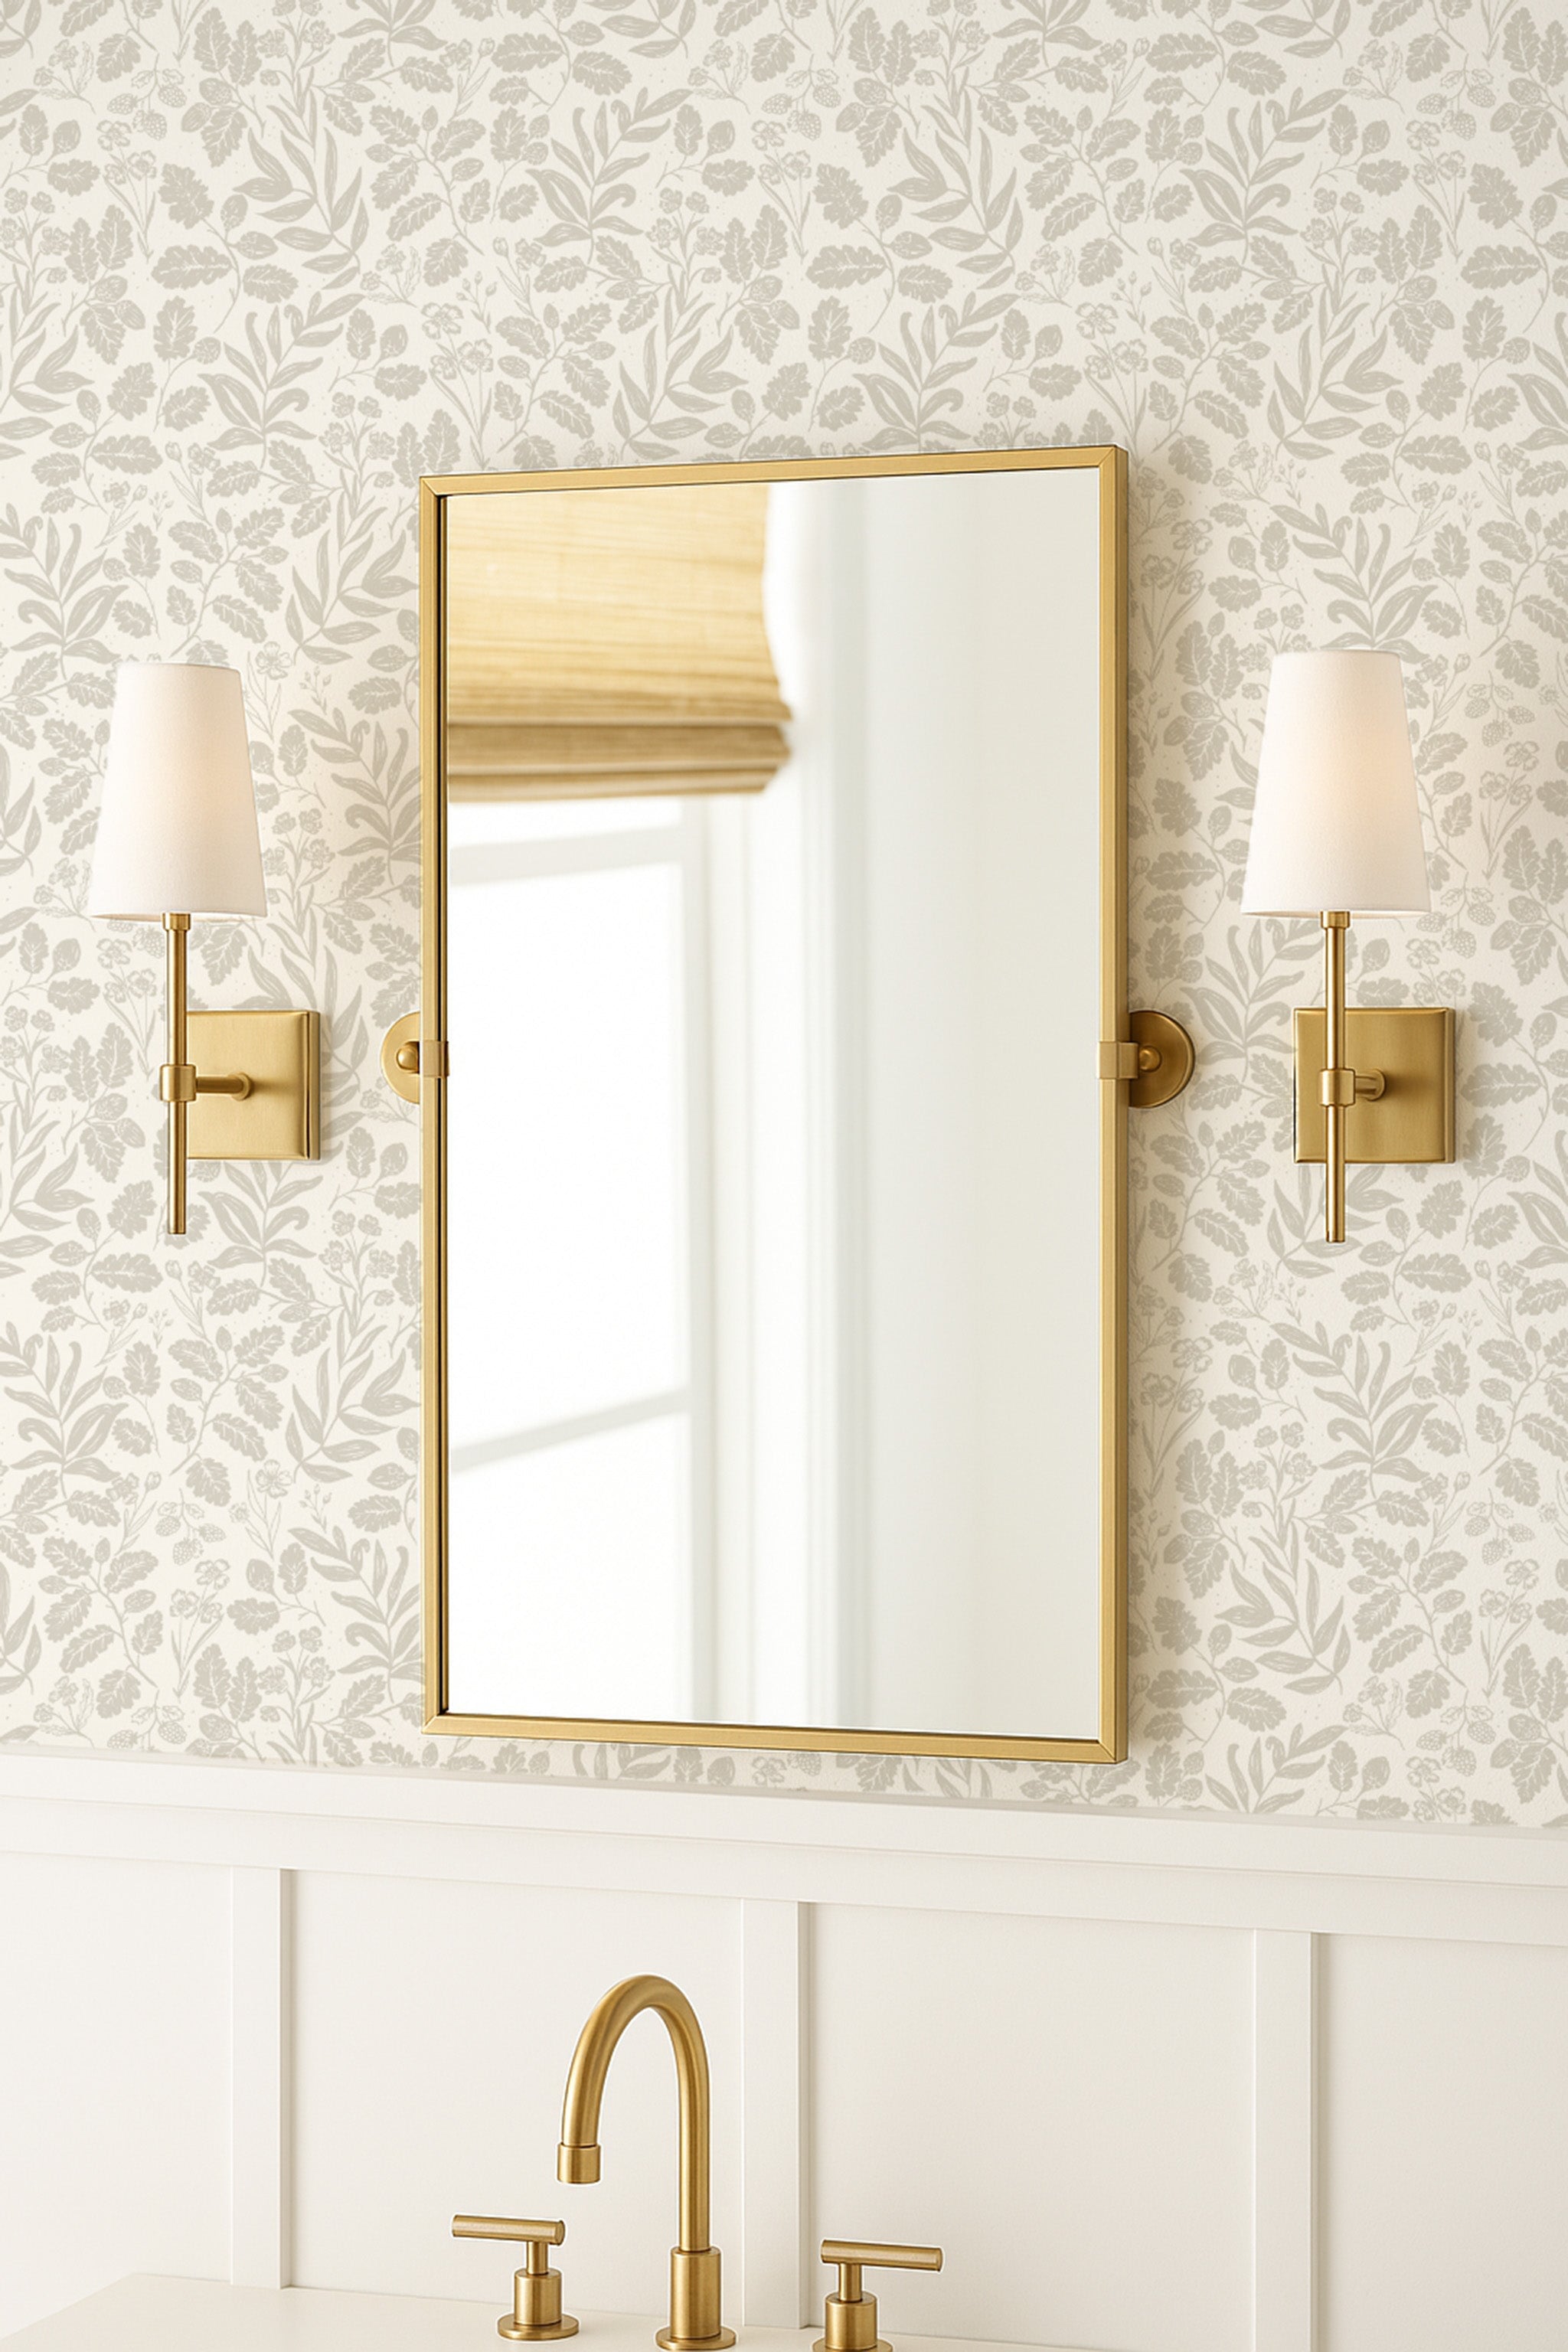
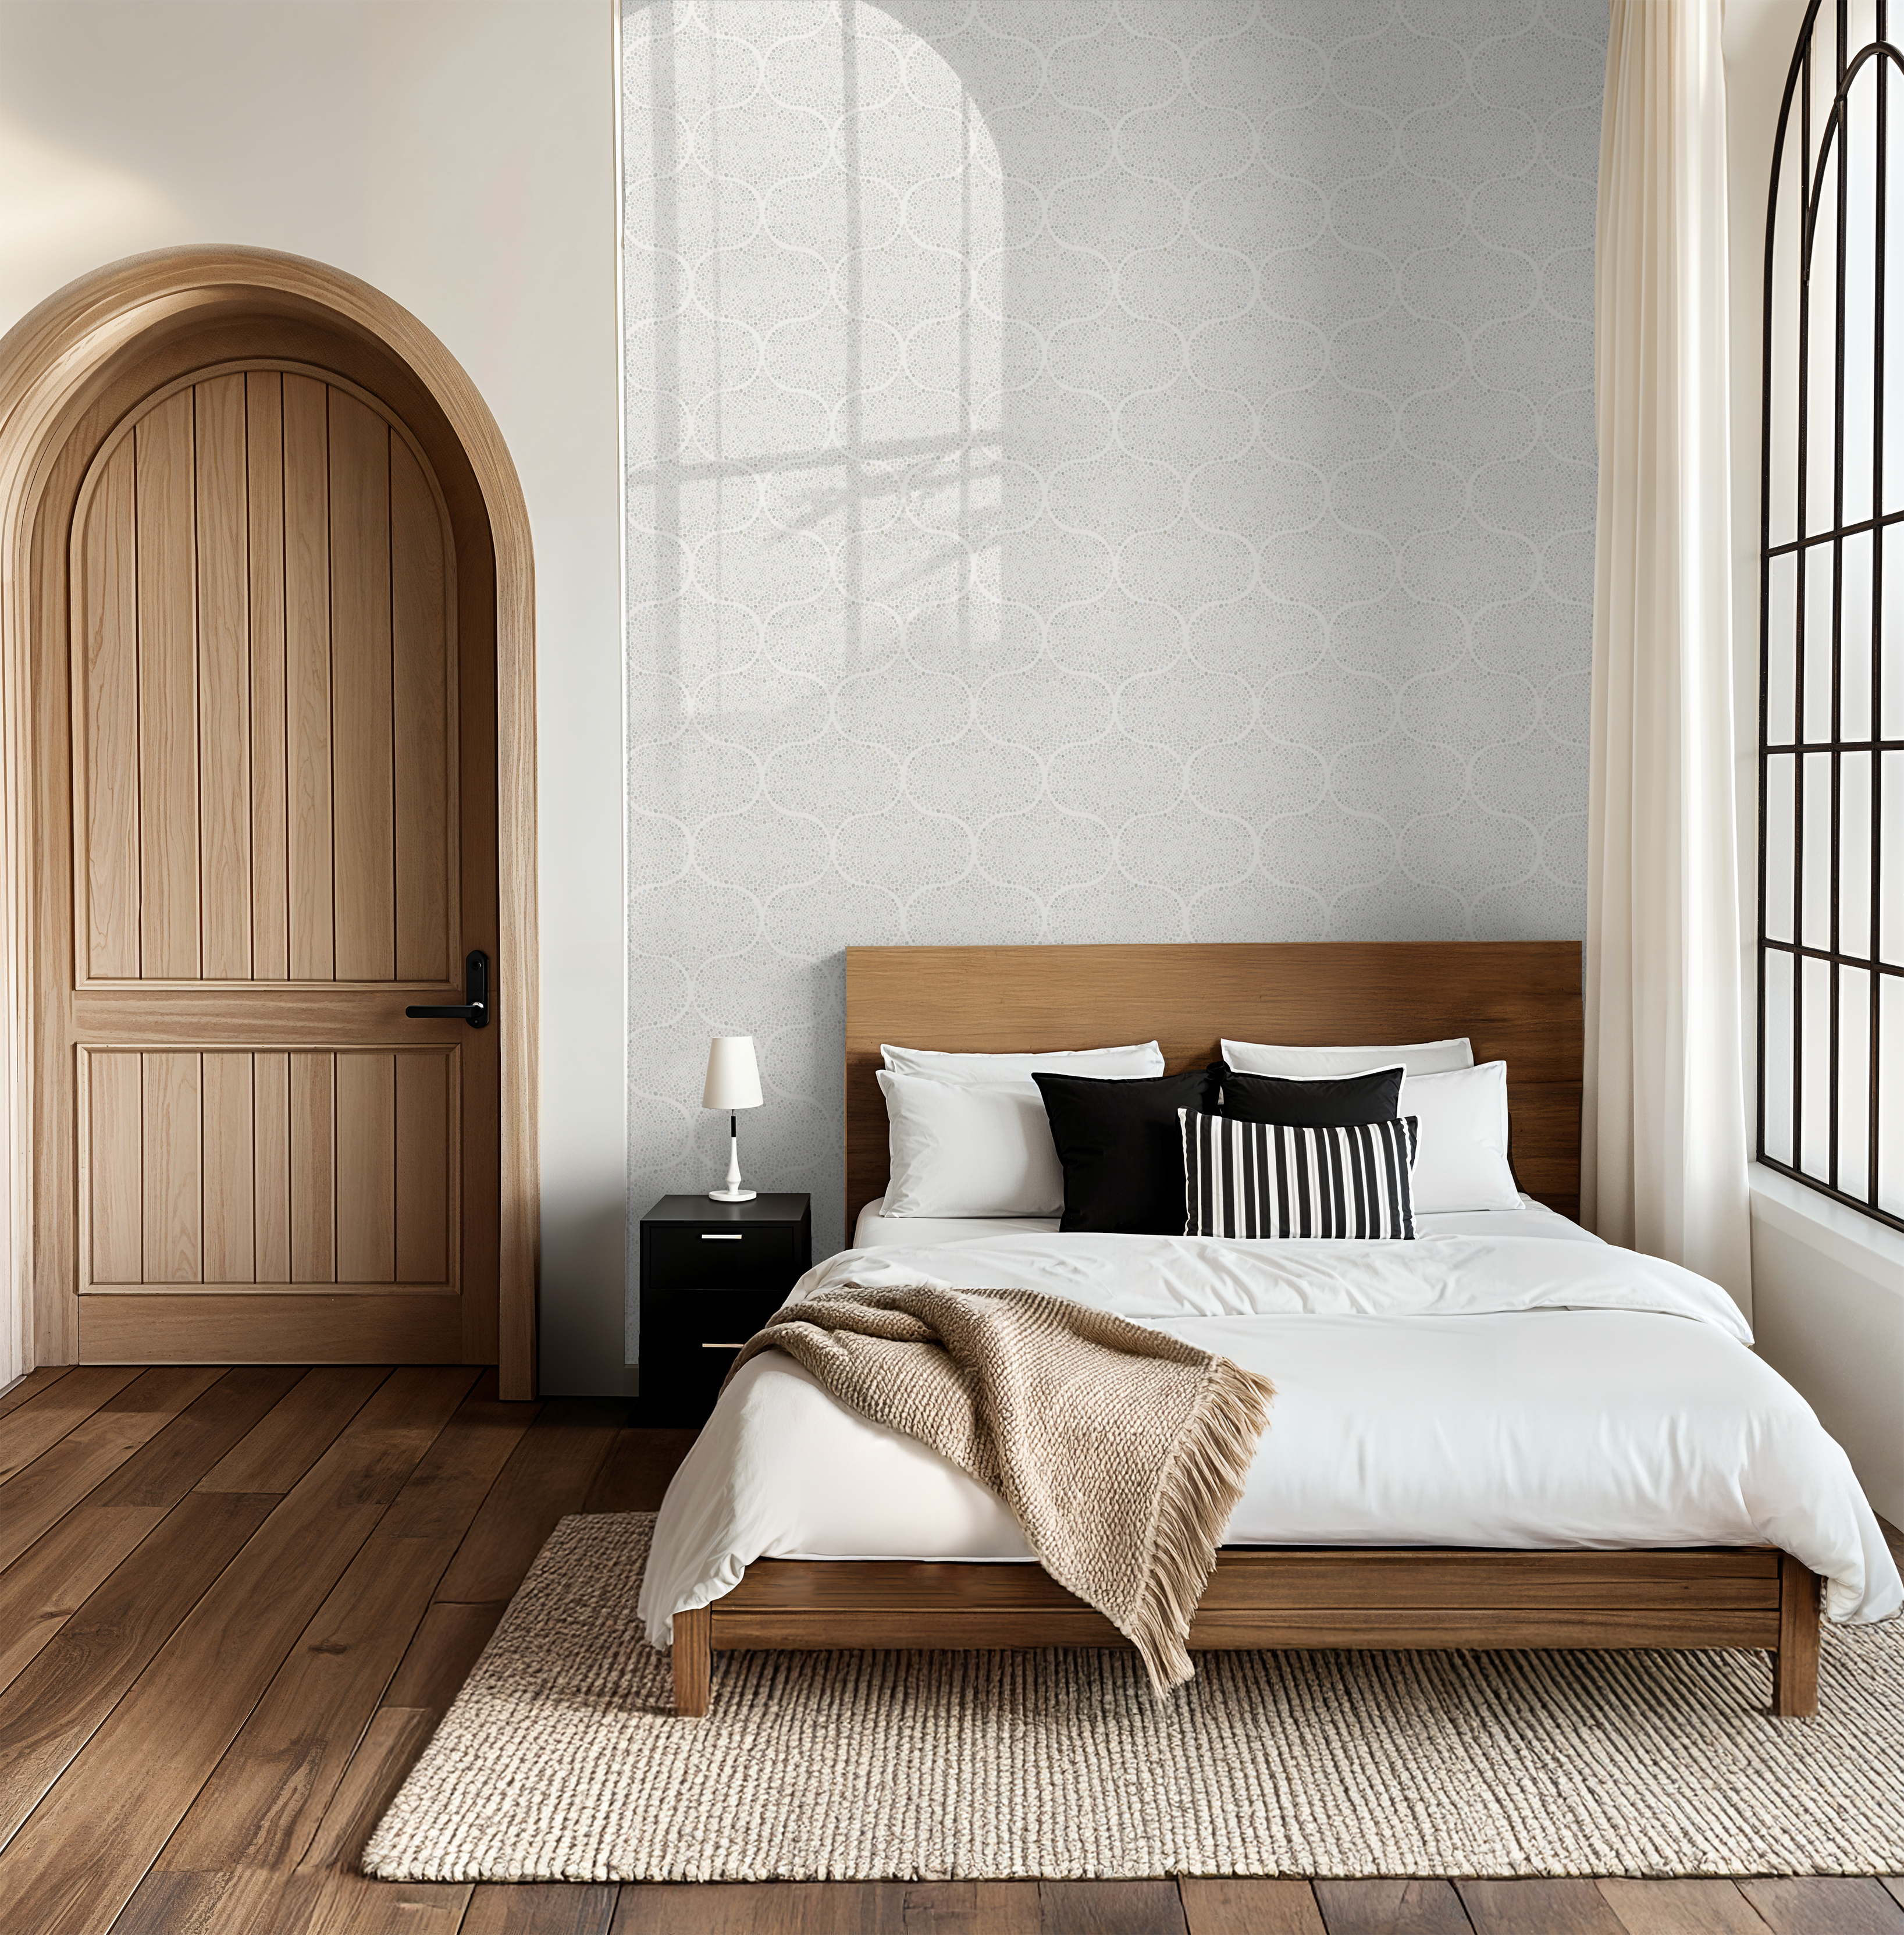
Installing wallpaper is such a transformative project—and we’re so glad you’re here for it! Whether you’re adding soft florals to a nursery or vintage charm to a cozy nook, you are going to love the impact it makes when it’s installed with care.
Here are our top 10 tips to help you get the best results from your Wildcomb wallpaper—whether it’s luxe peel & stick, vinyl peel & stick or traditional non-pasted. A little preparation goes a long way toward creating a space that feels hand-painted, whimsical, storied and completely like home.
#1. Prep Your Walls Like a Pro
A smooth wall is the foundation for a beautiful wallpaper install.
Make sure your surface is:
- Clean (a mild soap and water wipe-down works great)
- Dry (moisture causes lifting)
- Smooth (patch holes, sand bumps)
- Properly primed if freshly painted (try to avoid flat/matte paints and scrubbable stain resistant paints—they can affect adhesion, eggshell finish is recommended). Remove light and plug covers during instal for a professional finish
Tip: Wait at least 30 days after painting before applying wallpaper otherwise you might get specks of paint coming off at removal.

#2. Plan Before You Peel (or Paste!)
Don’t skip the layout.
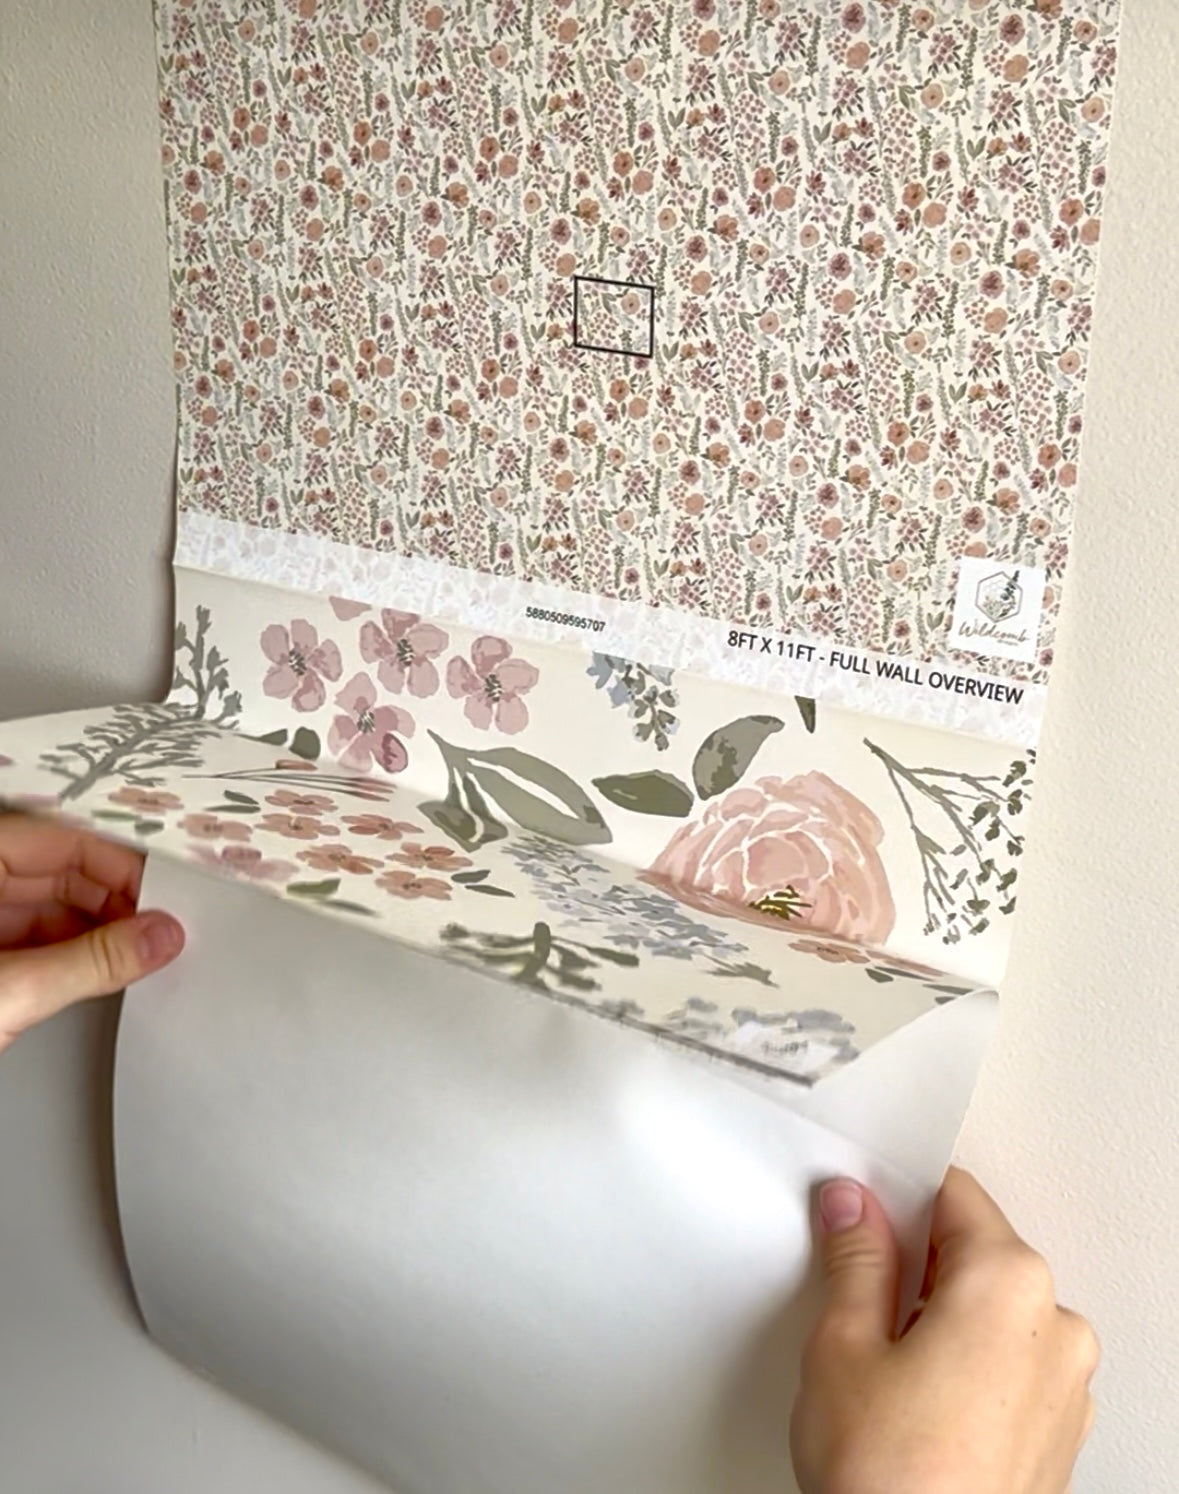
1. Measure your wall and panels first
- Cut the individual panels apart along the dotted cut line
- Read all the step by step instructions, they are printed on the top of each panel of Wildcomb Wallpaper
2. Use a level or laser to mark a straight vertical guideline for your first panel (walls and ceilings are rarely straight) there are instructions on each panel for how to make a straight first guide line (don’t skip this step)
3. Lay out panels on the floor to visualize the design flow, check that colours and patterns line up
- Start a couple of inches higher than the top of the wall, it is easier to trim off excess than to end up not reaching the top of the wall as you add more panels (ceilings are rarely straight)
- If you are doing multiple walls, start in the least noticeable corner
Getting that first panel straight makes everything else easier!

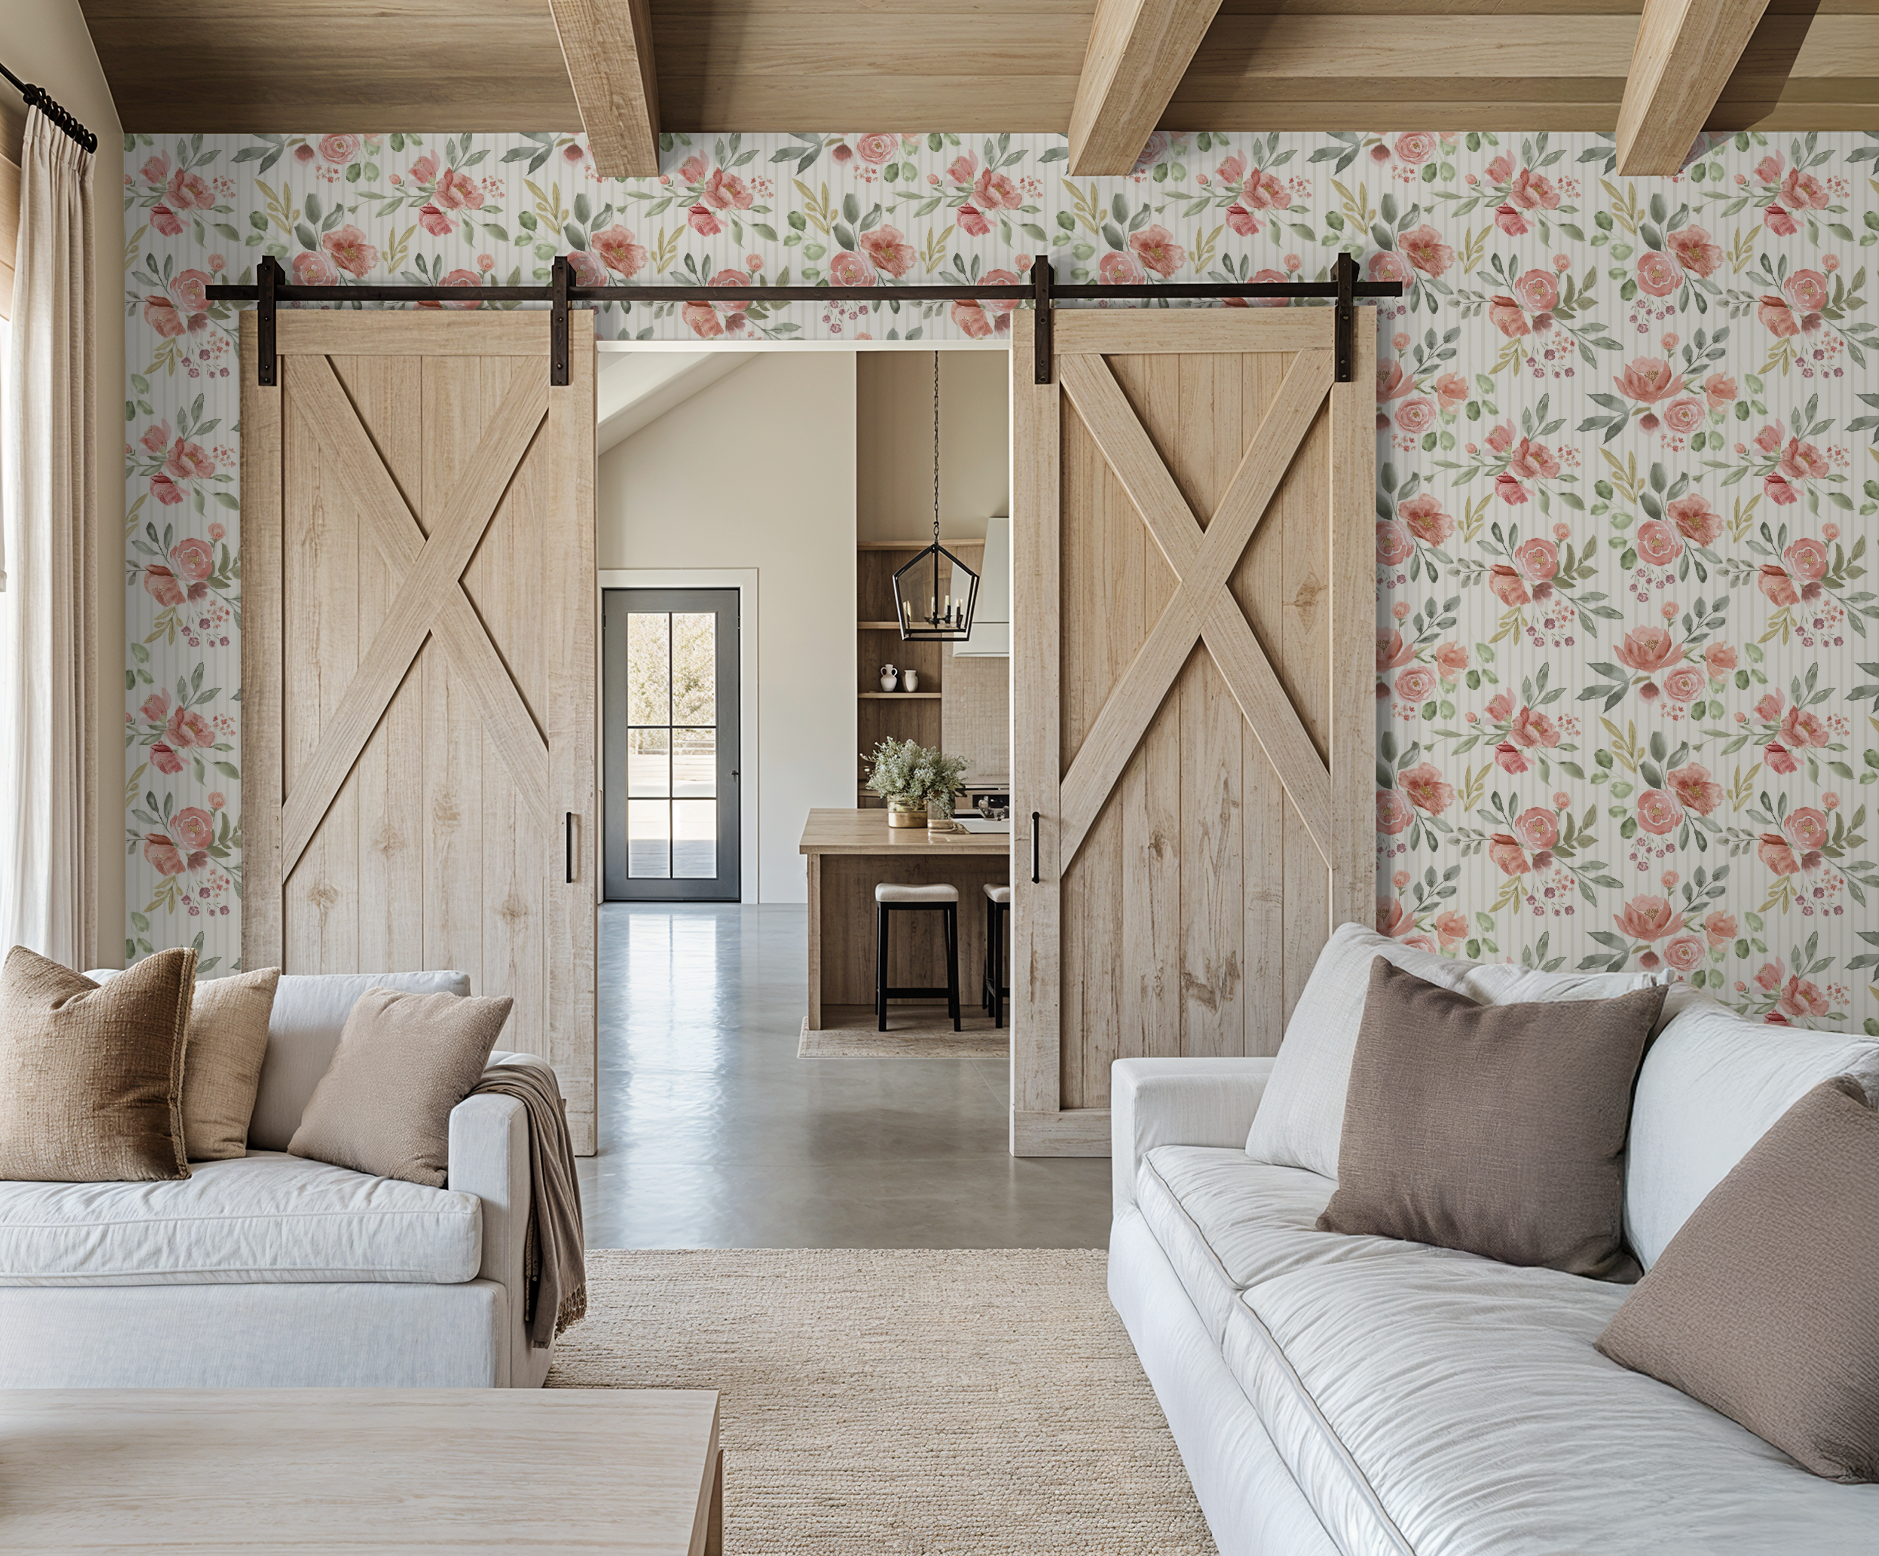
#3. Pattern Matching is Everything
Our wallpapers are mostly hand-painted, flowing, and full of detail. Matching the pattern carefully creates that seamless, painted-on feel.
- Match patterns at eye level
- Don’t rush to trim—align first, make sure no repositioning is needed, smooth then cut
- Step back often to check your alignment
- If you are using peel and stick, use pieces of painters tape to line up the lower parts of the panel you are installing to the panel you previously installed. This will hold it straight while you peel off the back
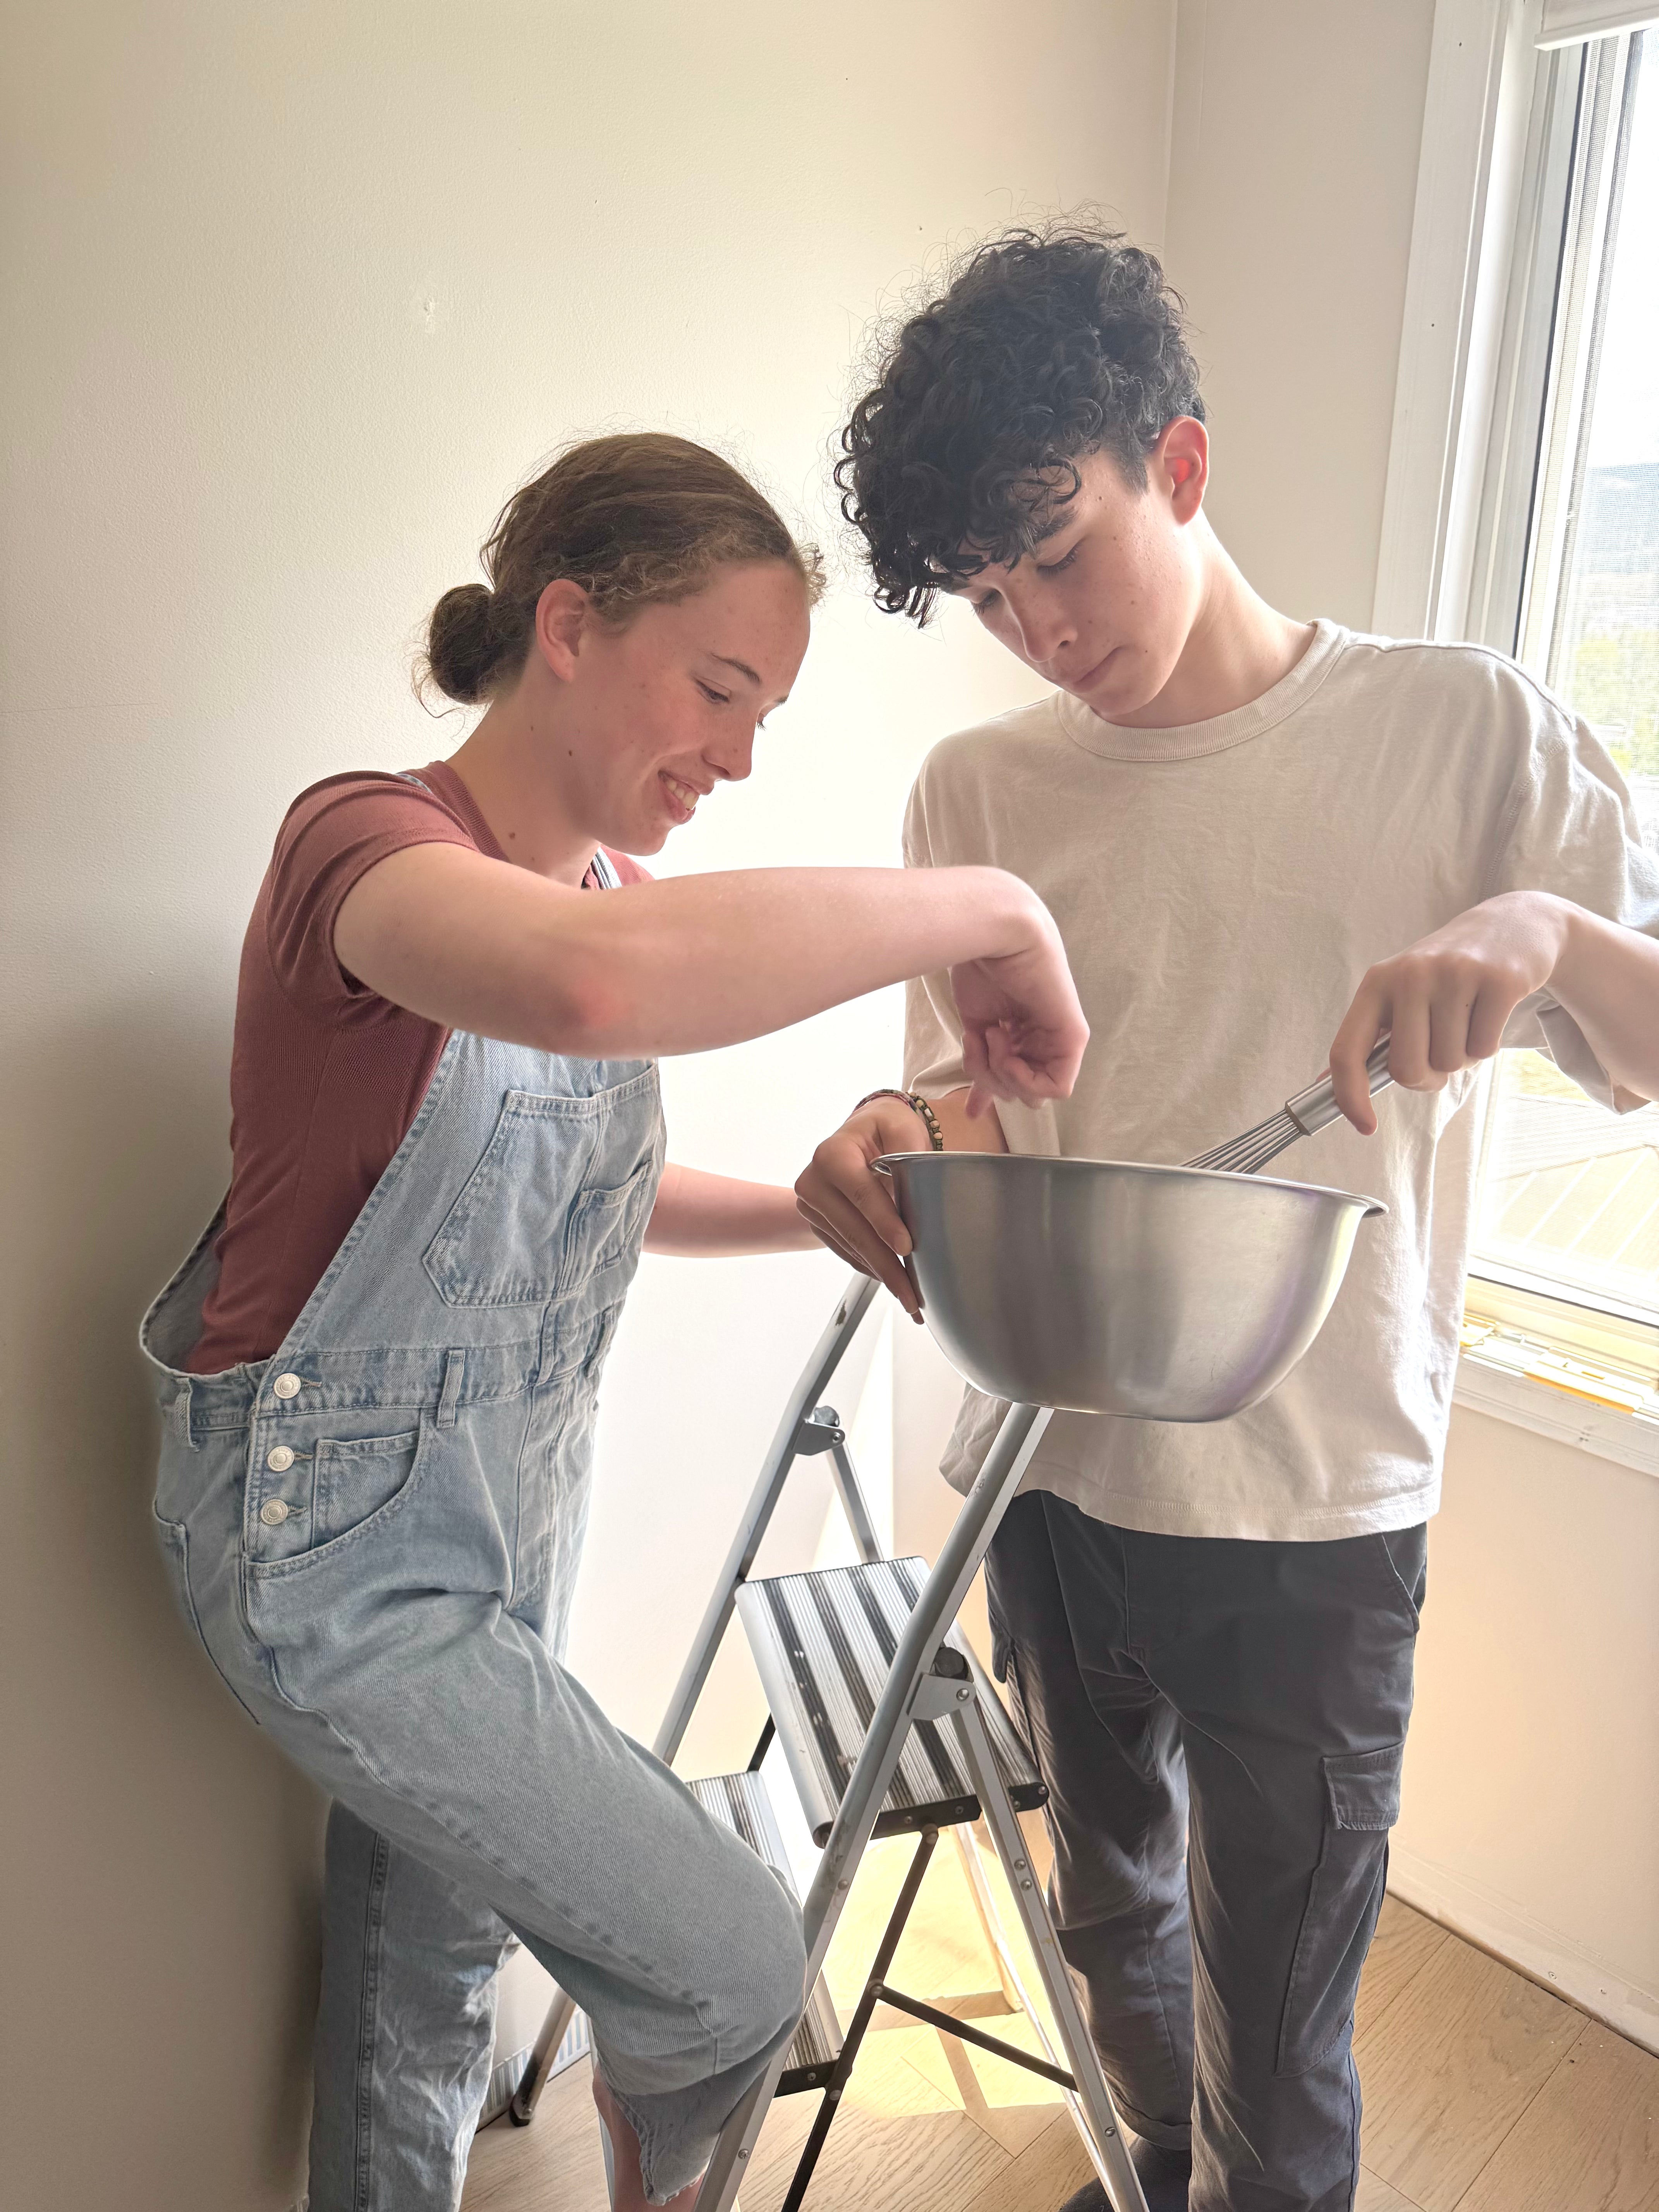
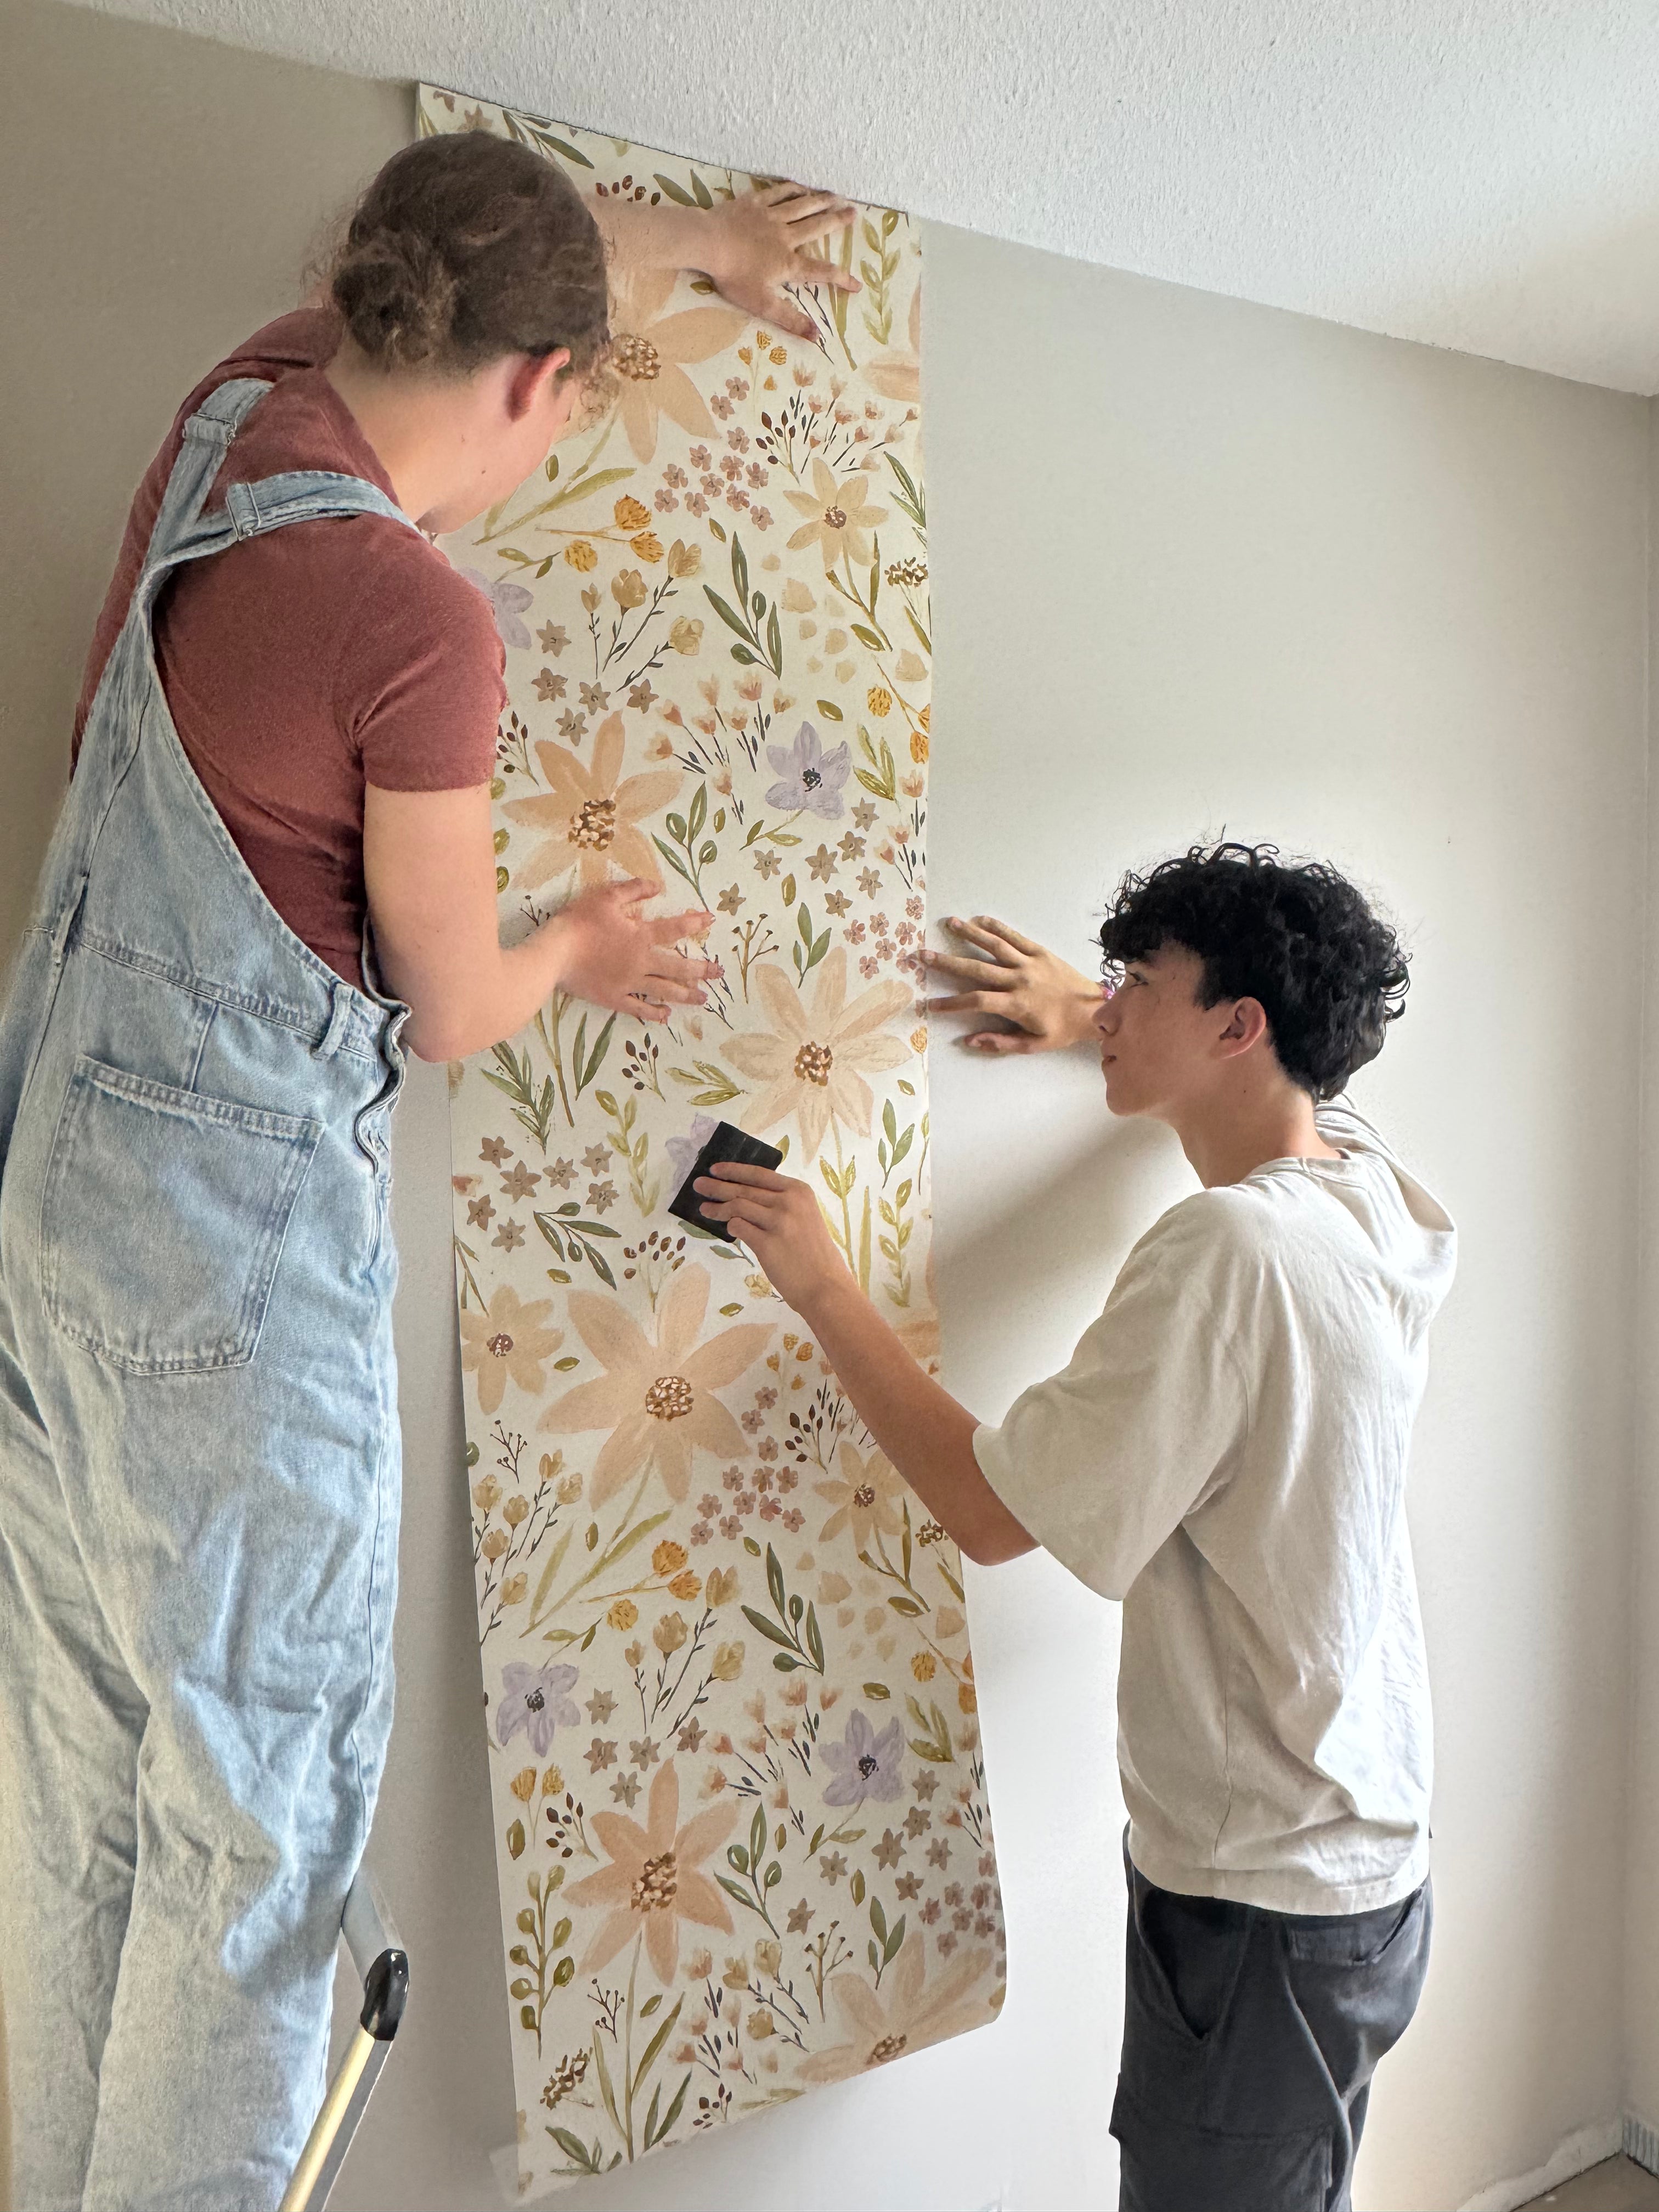
#4. Grab a Wallpaper Buddy
Wallpapering solo is possible—but having a helper makes it way more fun (and less frustrating).
One person can hold and guide the panel while the other smooths it into place.
Bonus: It makes for a sweet DIY memory, especially if you're designing a nursery.
#5. Smooth, Don’t Stretch
Apply firm but gentle pressure when smoothing your wallpaper.
- Use a wallpaper smoother like the one we include or soft clean cloth or brush
- Start from the center and smooth outward, working any bubbles gently to the outside edge
- Avoid pressing too hard with fingers, which can stretch or shine the surface
- Some repositioning as you go is possible but be careful not to pull and stretch the material as that can result in difficulties aligning the pattern and gaps

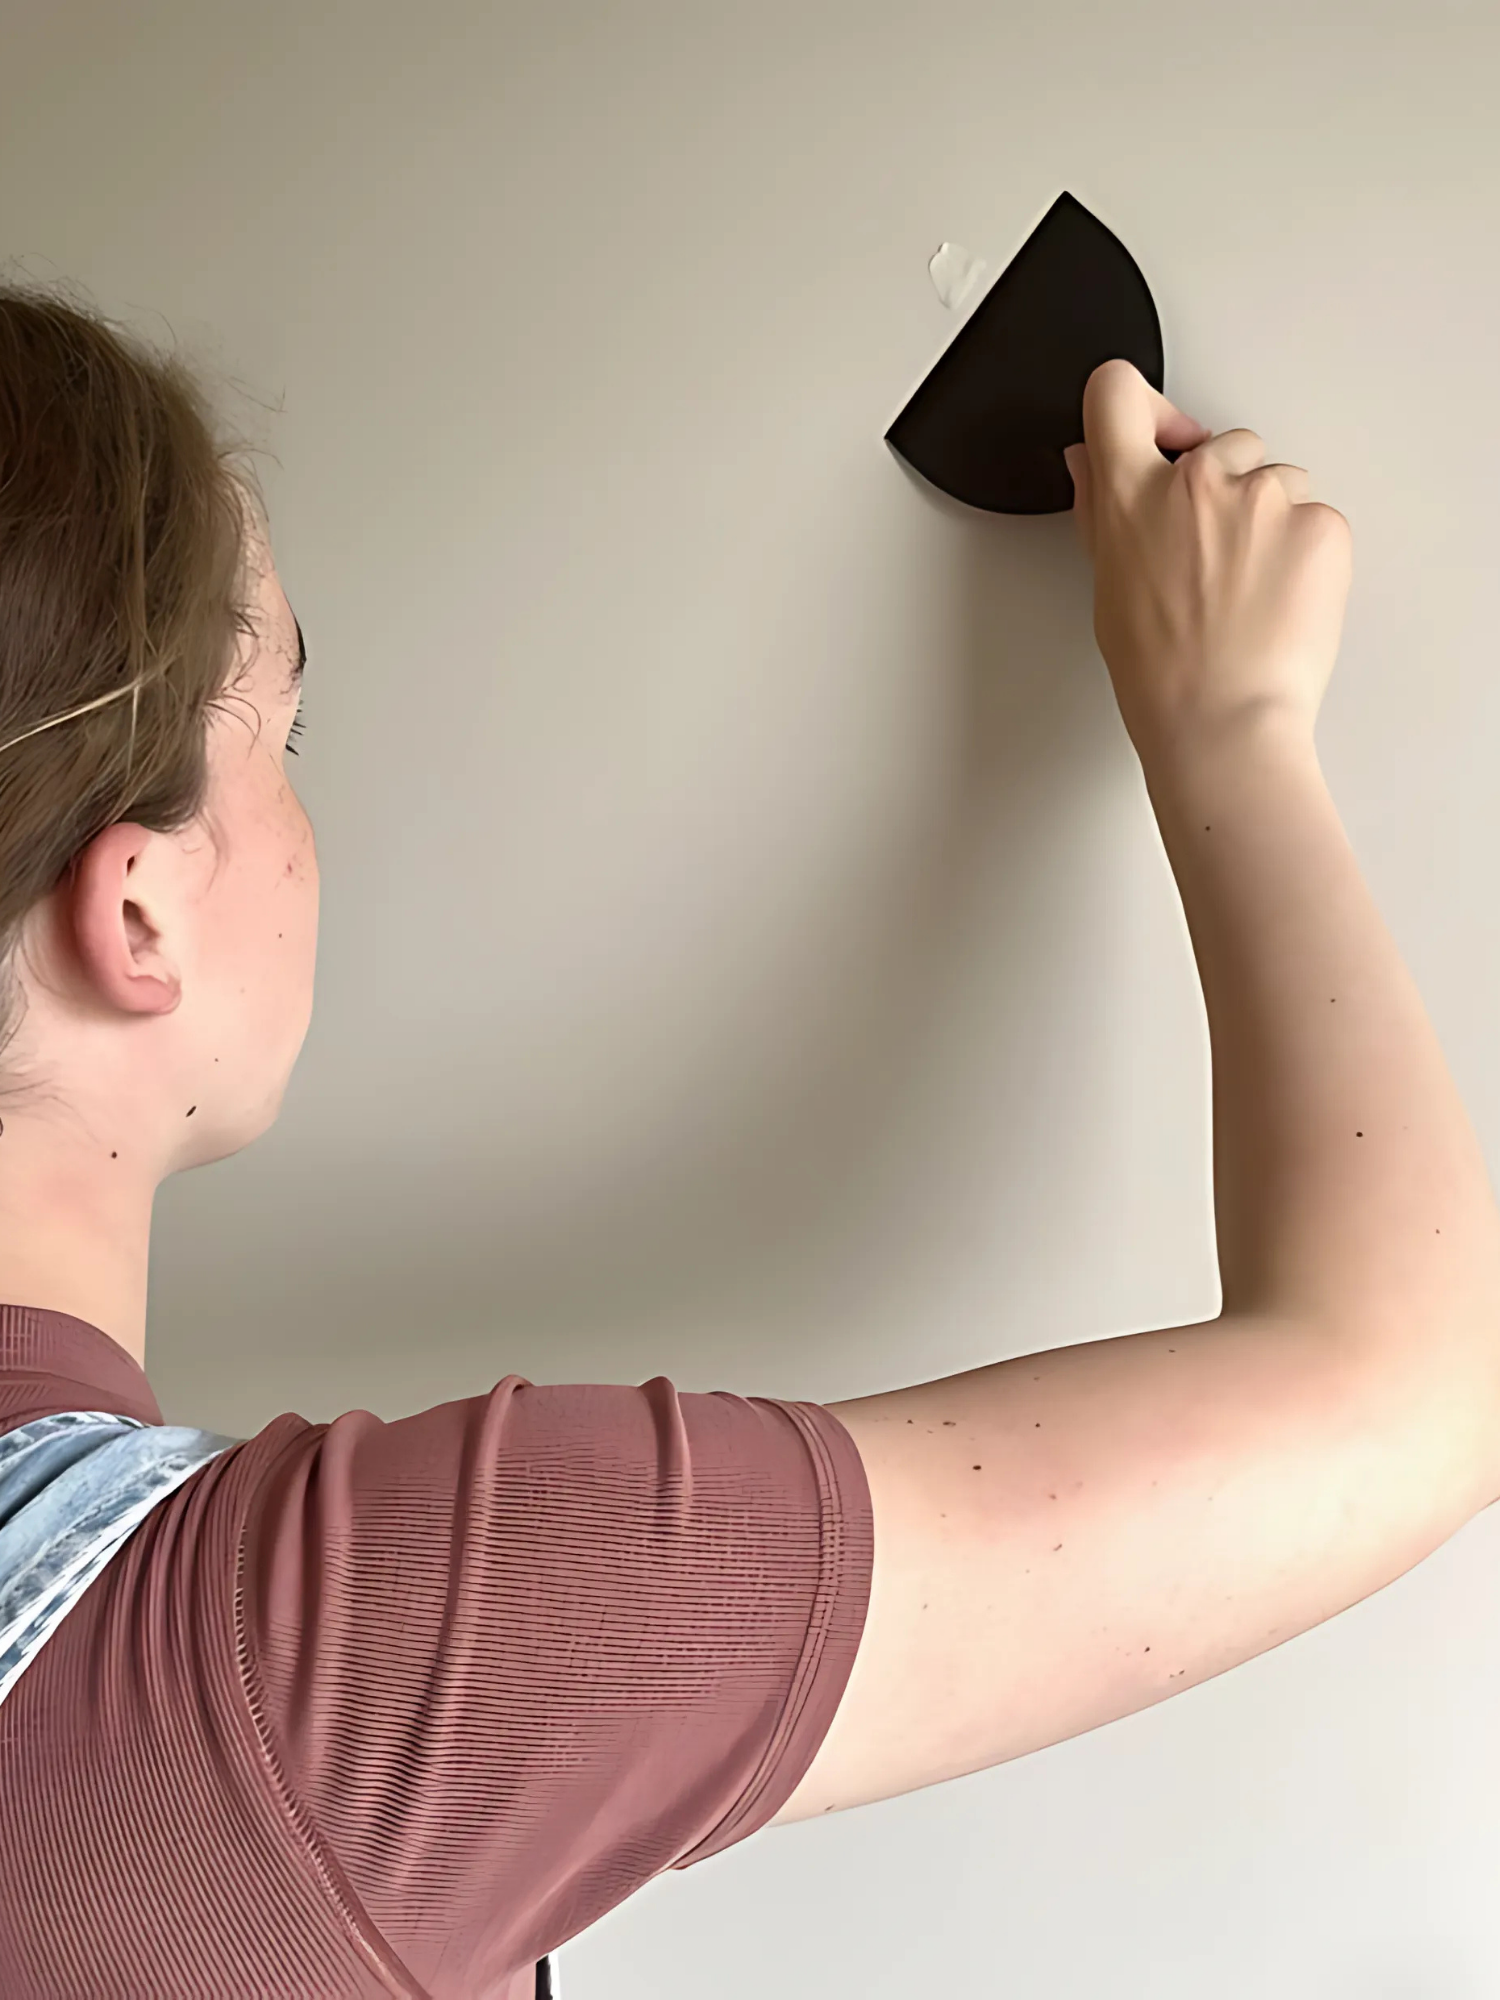
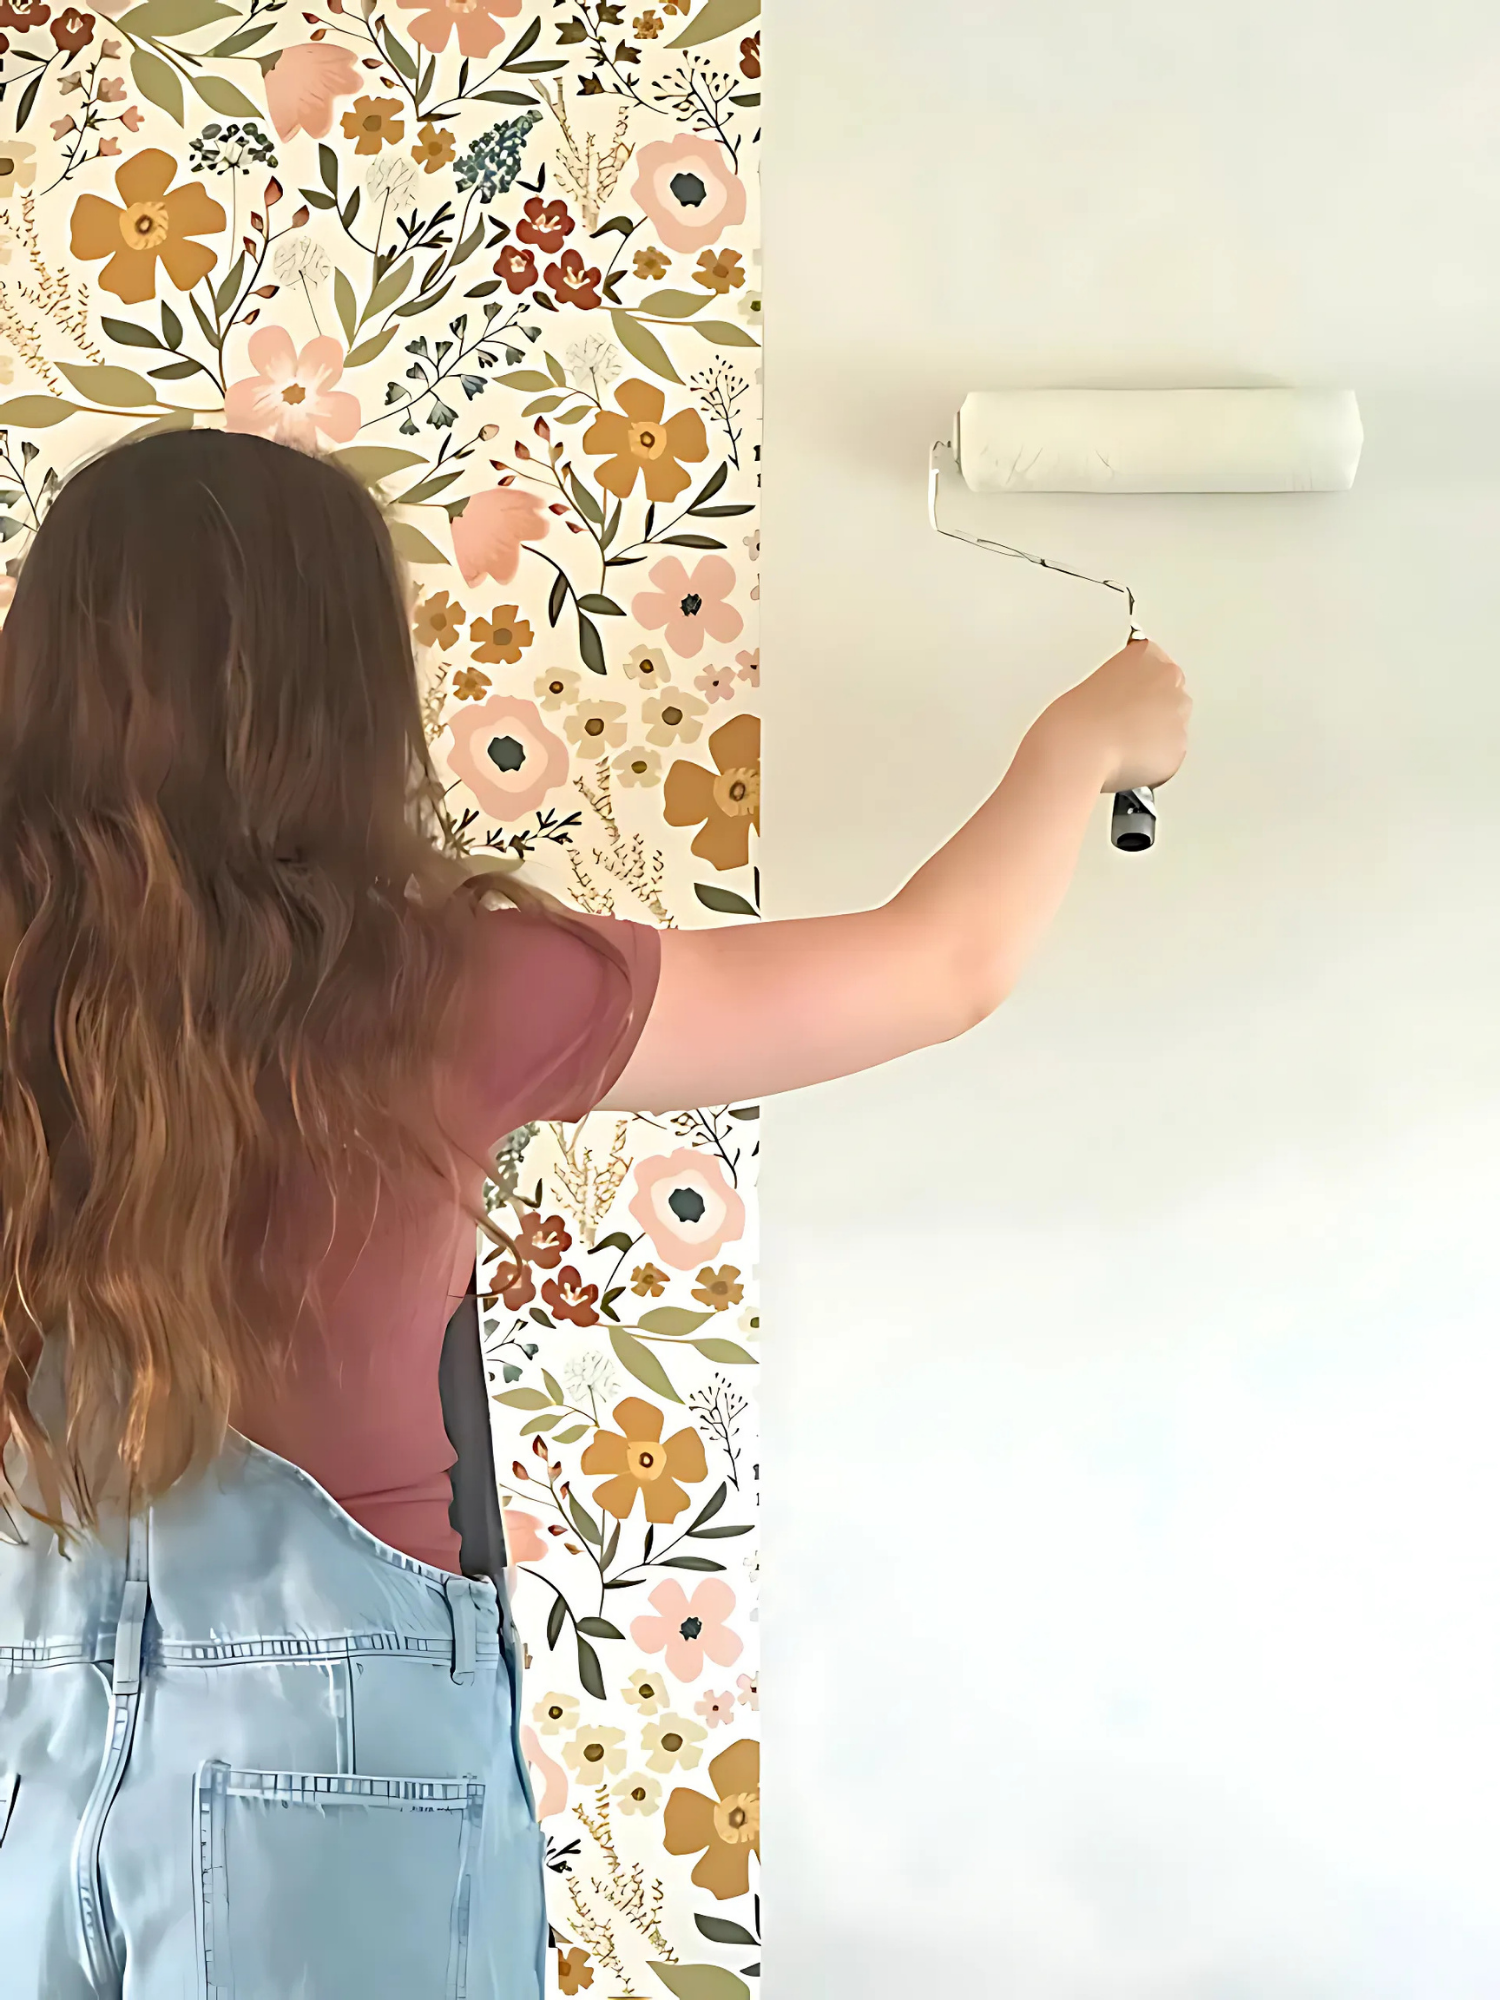
#6. Trim Slowly and Carefully
Clean cuts make all the difference.
- Use a sharp craft knife and a straight edge
- Replace blades frequently for crisp corners
- Take your time around baseboards, outlets, and ceilings
#7. Don’t Skip the Sample Test
Before installing a full wall, try a sample first (especially if your wall is textured or recently painted).
- Check for adhesion
- Leave it up for a few days
- Remove it to see how your paint reacts
This quick step can save a lot of surprises later.
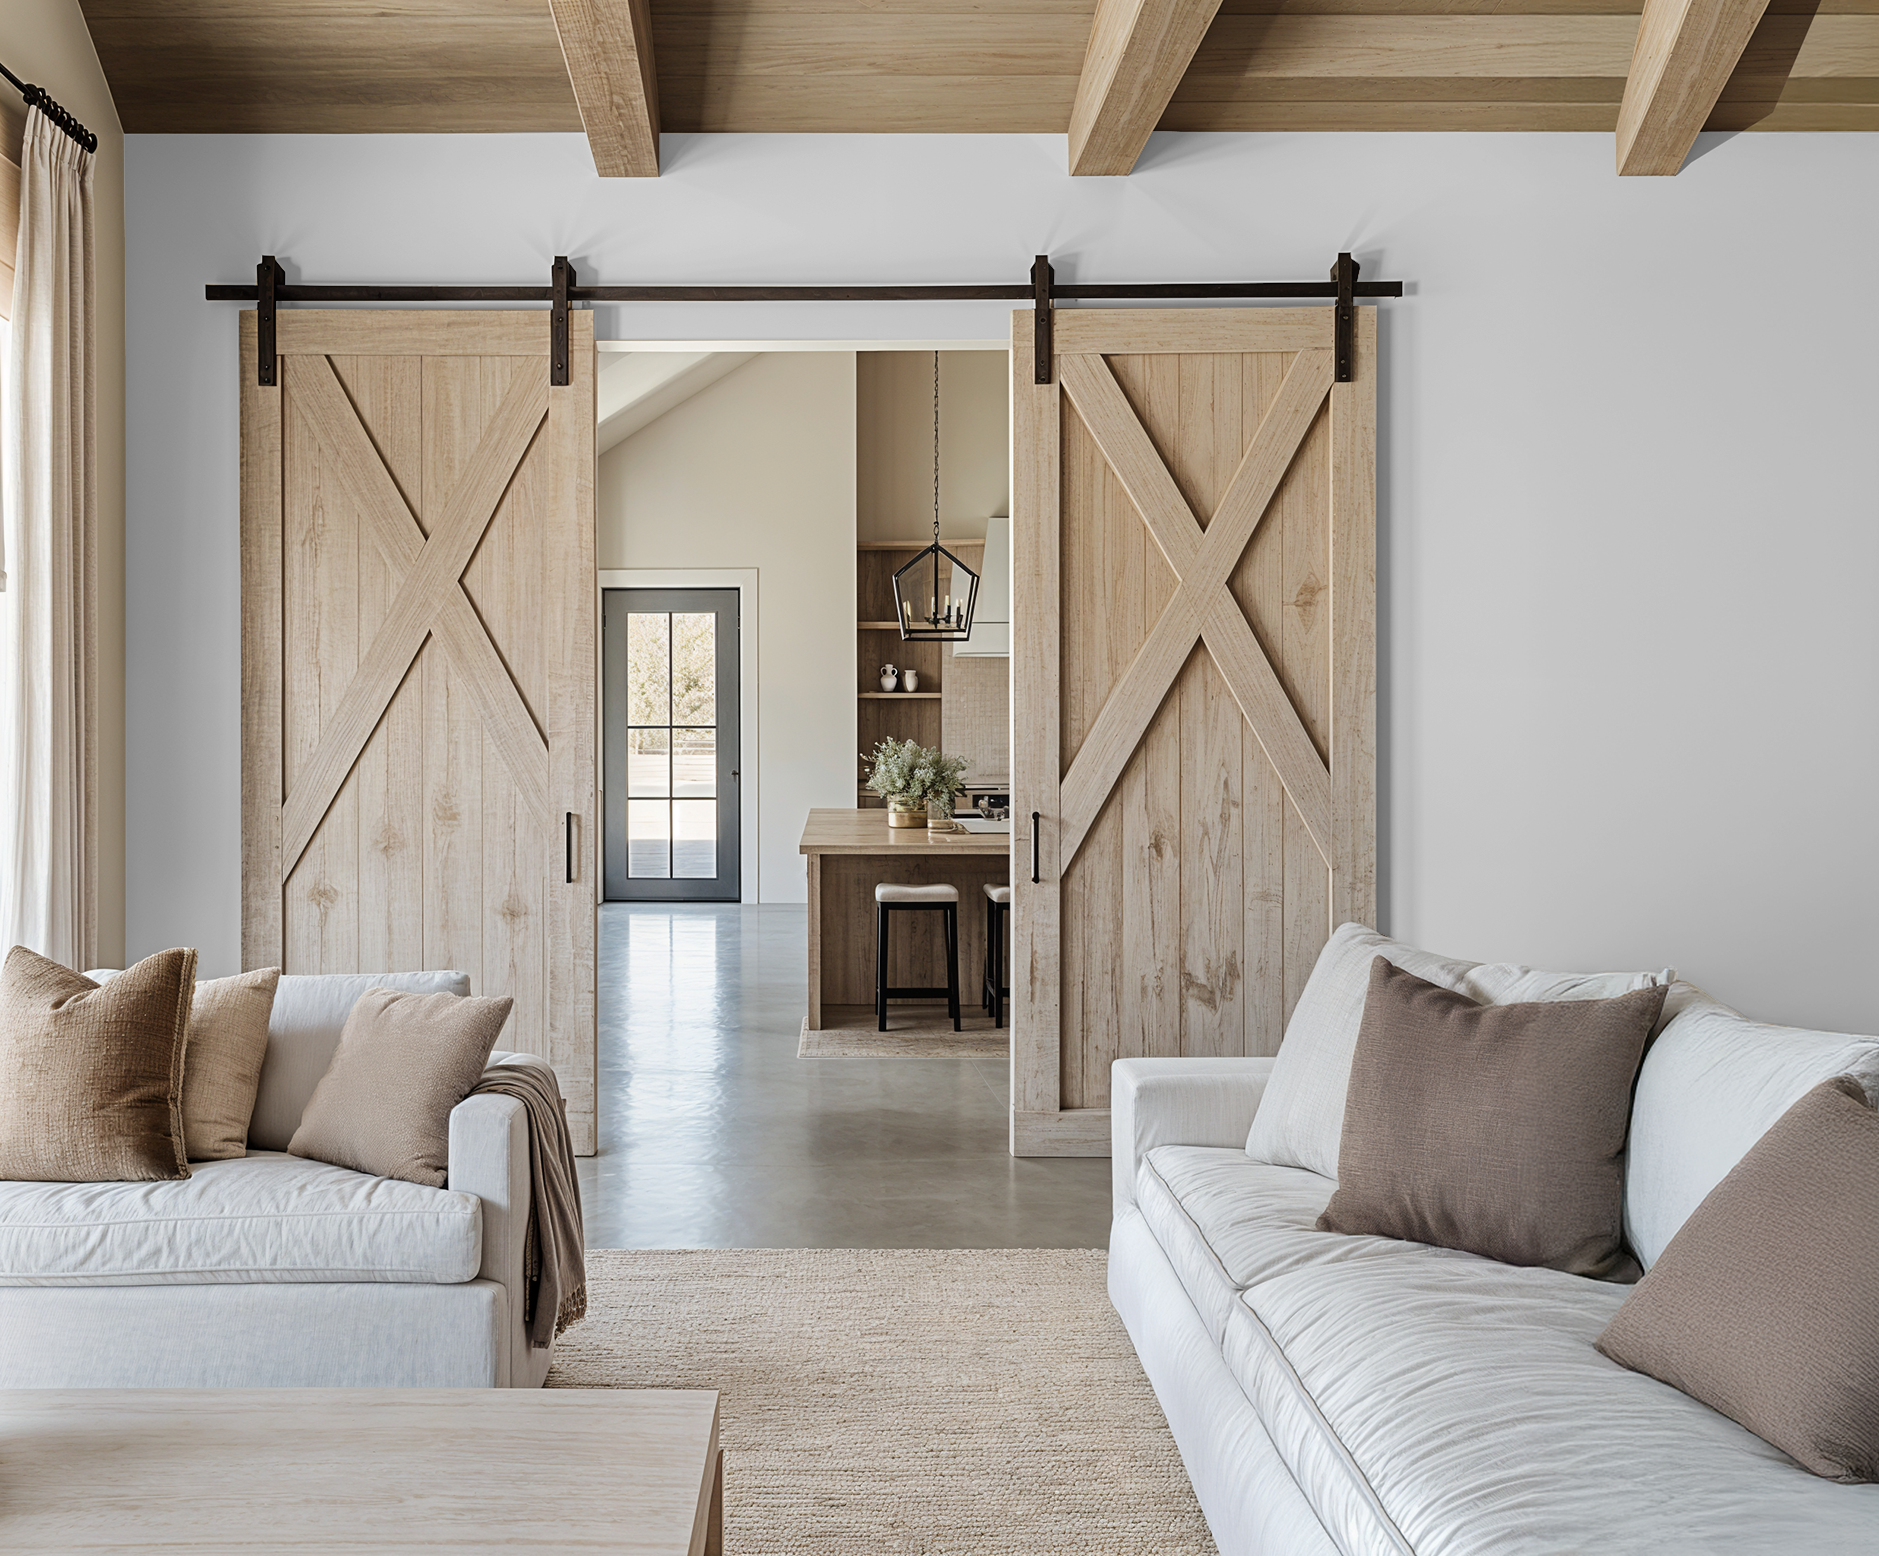
#8. Choose the Right Surface
For best results, install on smooth, painted drywall.
Avoid:
- Textured walls (a light orange peel or knocked down texture may be ok but test with samples first)
- Raw plaster
- Unfinished wood
- Freshly painted surfaces (wait 30 days!)
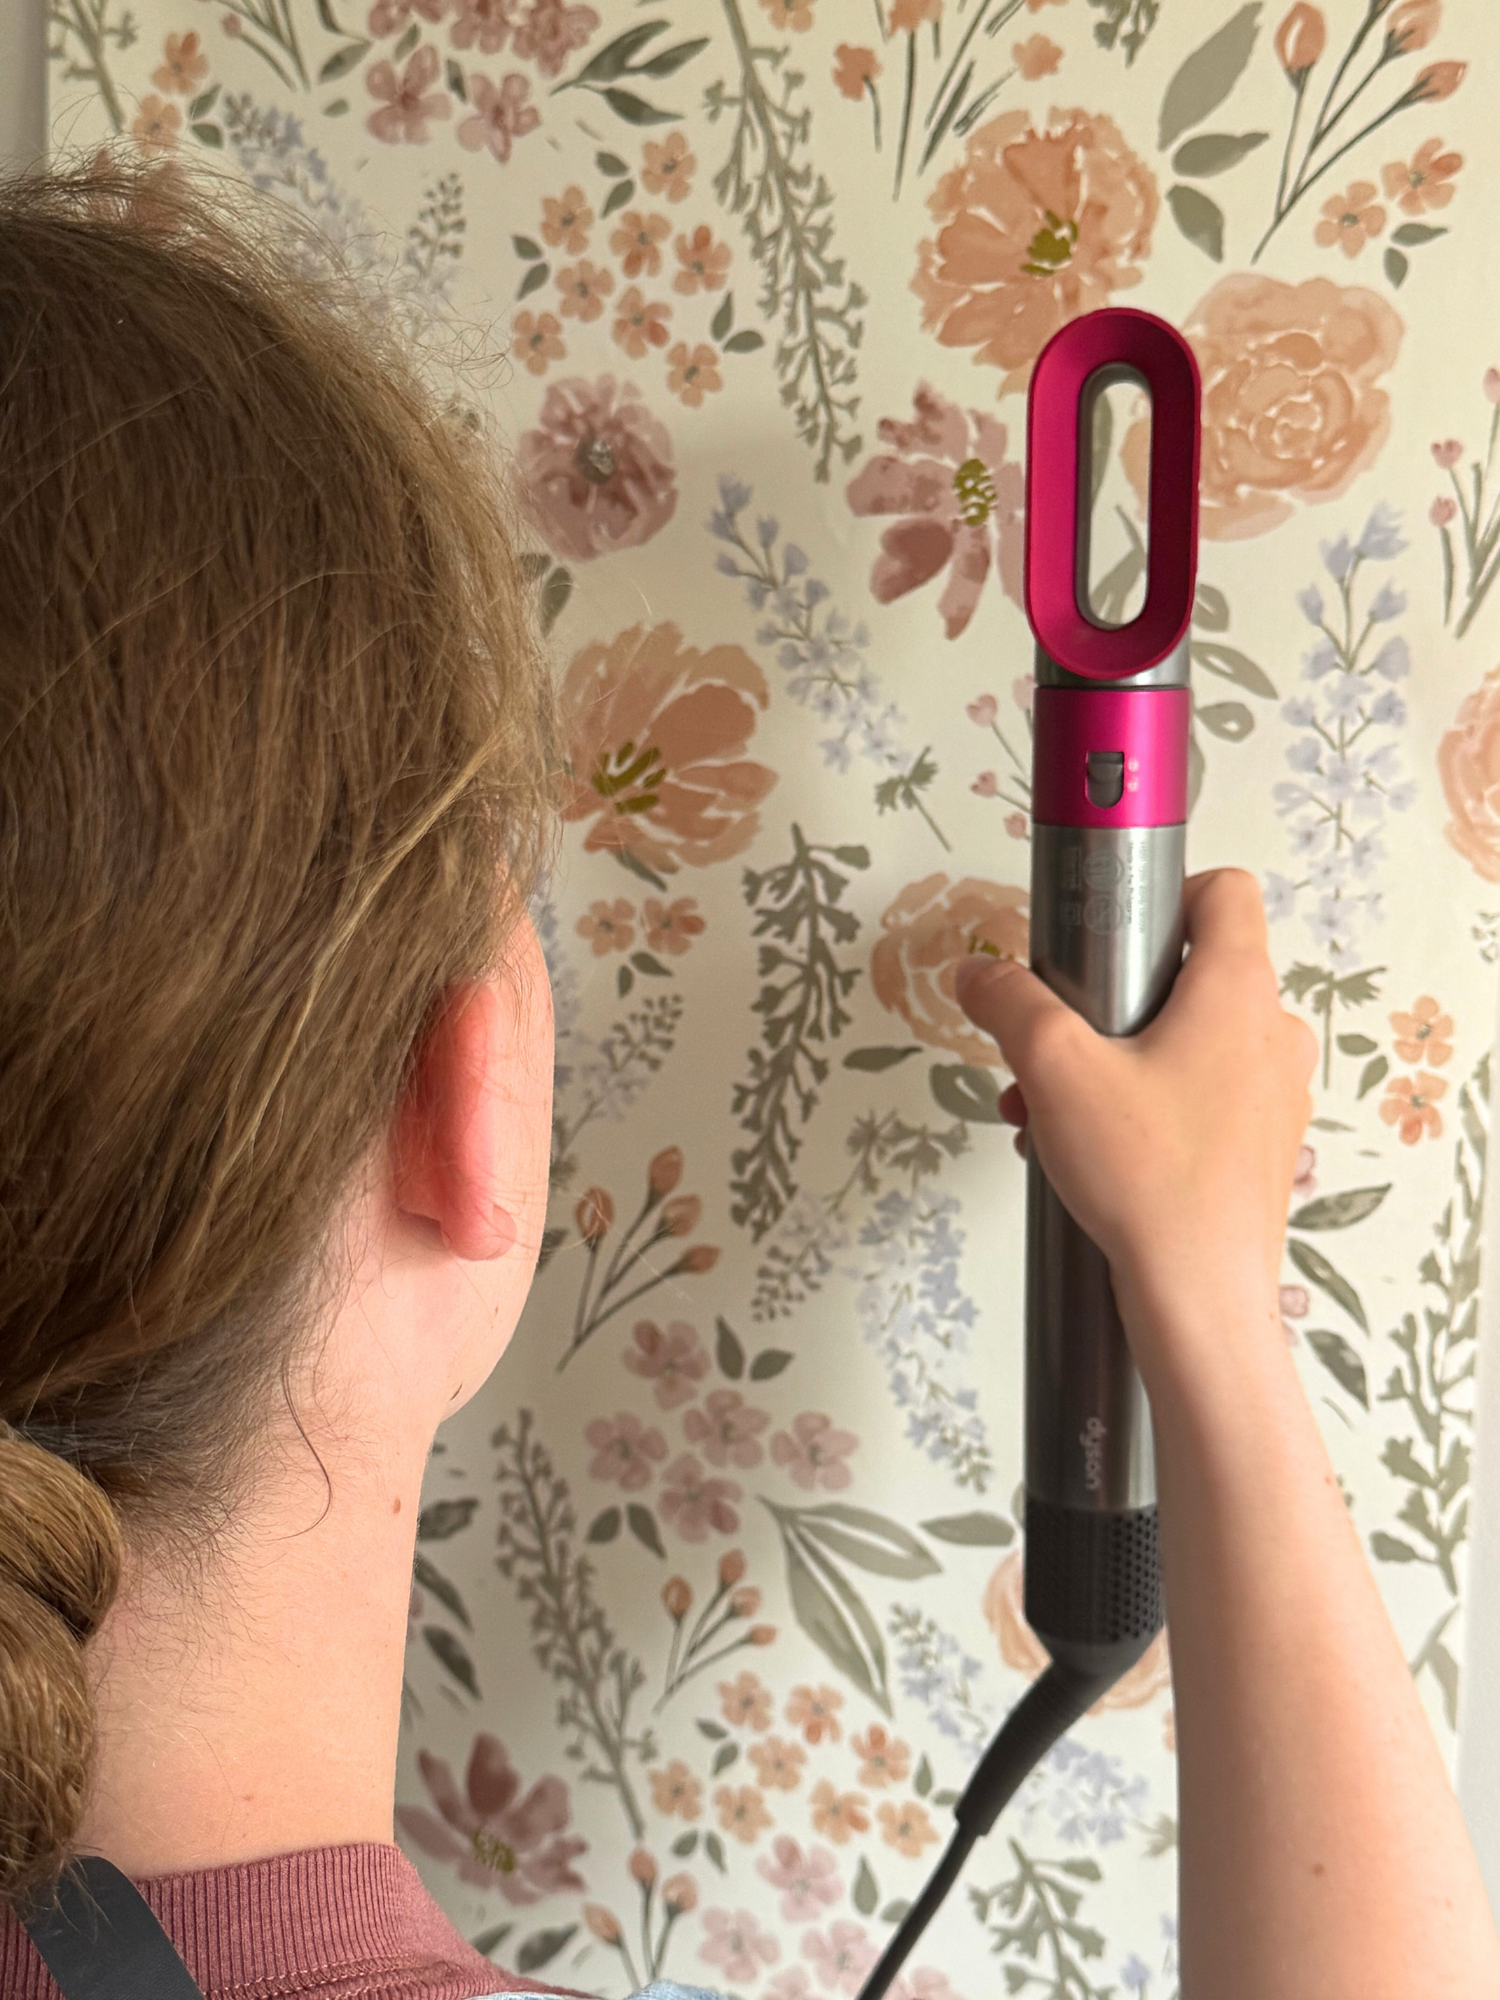
PRO TIP - If removing later, use a hair dryer on low heat to gently loosen the adhesive.
#9. Use the Right Amount of Paste (for Pasted Wallpaper)
If you're using our traditional pasted wallpaper:
- Apply an even, thin coat of paste (either roller on to the wall or paper, depending on your method)
- Make sure you get to all corners and edges
- Don’t overdo it—too much can cause bubbling
- Wipe away excess paste of the front of the design right away with a damp sponge
- Gently slide into place to line up
- You may want to let the paste dry a little before trimming so the paper isn’t too slippery and doesn’t rip
#10. Know When to Call in the Pros
We’re big believers in DIY—but some walls (like tall ceilings or wrap-around murals) are easier with a professional installer.
If you’re unsure, hiring a pro can give you a polished finish with less stress.

You’ve Got This
At Wildcomb Designs, each wallpaper is crafted with care to bring beauty, joy, and imagination into your home. With a little prep and patience, you’ll create a space that feels like art—and tells your family’s story.
Still have questions? Reach out anytime at hello@wildcombdesigns.com—we’re always happy to help!
Finishing Touches
You did it! Now take a moment to step back and enjoy the transformation. Whether you’ve created a playful nursery, a cozy corner, or a bold statement wall, your Wildcomb wallpaper has brought new life to your space.
Style with greenery, soft textures, or framed art — and don’t forget to share your finished look with us @wildcombdesigns. We love seeing your spaces come to life.
More Questions?
Check out our frequently asked questions page below.
We’ve covered everything from installation tips to ordering and care.
Still need help? We’re always happy to support you — just reach out!